
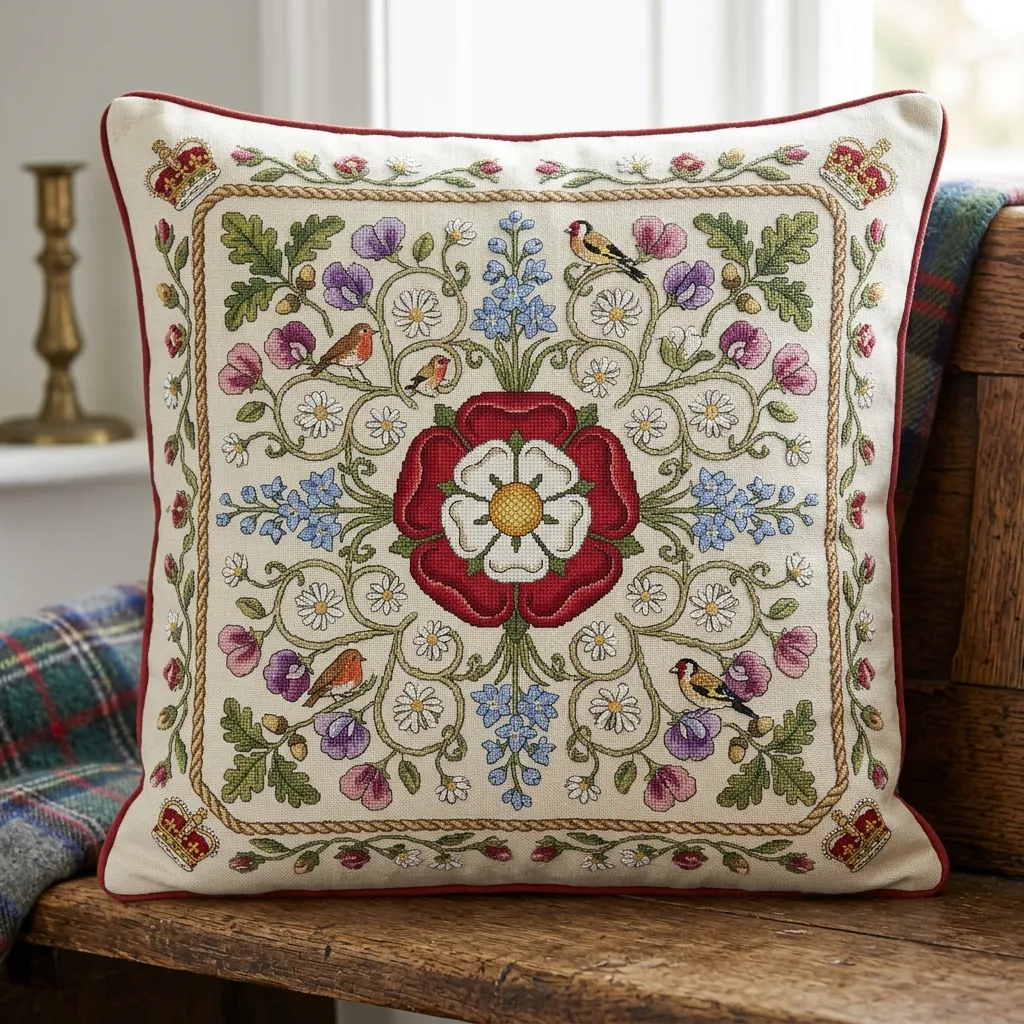
A finished cross-stitch piece has a funny habit of sitting in a drawer longer than it should. The stitching is done, the colors are right, and the fabric has that satisfying handmade look, but the project still feels unfinished until it becomes something usable. Turning it into a decorative pillow gives it a second life, and it also puts your work where people can see it instead of hiding it behind glass.
If you’ve wondered how to turn your cross-stitch work into a decorative pillow (step-by-step), the process is more straightforward than it looks. The key is preparation: choose the right finished piece, make clean cuts, and build the pillow cover carefully so the stitching stays flat and the seams stay neat. Once you’ve done one, the whole process starts to feel less like sewing around a fragile treasure and more like smart, satisfying home decorating.
Start with the right stitched piece
Not every project is a good candidate for a pillow. Small or medium designs with clear borders usually work best, especially if the stitched area can be centered neatly on the front of the pillow. A piece with a little extra fabric around the design gives you room to trim, sew, and adjust without crowding the stitching.
Before you touch the scissors, press the finished cross-stitch from the back with a clean pressing cloth. That helps flatten the fabric without crushing the stitches. If the piece still has grime, pencil marks, or hoop dents, address those first, because once the work becomes part of a pillow, those issues are harder to fix.
Gather your supplies before cutting anything
A calm workspace makes this project much easier. You do not need a mountain of tools, but you do need the basics within reach so you don’t end up holding a pinned panel in one hand while hunting for thread with the other. Simple preparation saves a surprising amount of frustration.
Here’s a practical list of what you’ll need:
- Finished cross-stitch piece
- Fabric for the pillow back
- Lining or backing fabric, if needed
- Matching thread
- Sewing machine or hand-sewing needle
- Pins or clips
- Scissors or rotary cutter
- Iron and pressing cloth
- Pillow form or stuffing
If you want the finished pillow to feel sturdy, pick a back fabric with enough weight to support the front. Cotton, linen blends, or upholstery-weight fabric all work well. For a project that will get used often, durability matters more than decorative detail hidden on the back.
Measure and plan the pillow layout
This is the point where many projects quietly go wrong. A design can look perfectly centered on the table and still end up off by half an inch once sewn. Measure the stitched area carefully and decide how much border fabric you want around it before cutting anything.
For a clean look, leave enough fabric around the cross-stitch so the image does not feel cramped. If the finished design will sit on the front of the pillow, sketch the size of the pillow cover on paper first. That small planning step makes it easier to visualize whether the motif needs extra border fabric, trimming, or a different pillow size altogether.
Choose the pillow style
The simplest option is a square cover with a stitched front and plain back. It’s reliable, neat, and easy to finish with a zipper, envelope closure, or simple seam. If you like a more tailored look, you can add piping or a border frame, though that adds some sewing complexity.
For a beginner, a basic square or rectangle is usually the best cross-stitch for pillow approach. It keeps the stitching as the star and avoids overcomplicating the construction. A design with strong colors or a clear center often looks best when framed by a simple fabric border rather than busy trims.
Trim the cross-stitch piece carefully
Once you’ve confirmed your measurements, trim the fabric around the stitched design. Leave enough margin for sewing and for any fraying prevention you plan to use. If the edges tend to unravel, a narrow zigzag stitch, serger, or fray check product can help keep them under control.
Work slowly here. Cross-stitch fabric can distort if you tug it while cutting, and a crooked edge makes alignment harder later. I’ve found that stepping back after each side is cut helps more than trying to finish the whole thing in one motion; it’s easier to correct a slight angle early than after the panel is already pinned in place.
Make the pillow front and back
The front panel is your stitched piece, but it still needs support. Depending on the weight of the fabric and the density of the stitching, you may want to fuse a lightweight interfacing or lining to the back of the front panel. That can help keep the piece from sagging and give the pillow a more polished feel.
For the back, cut two pieces if you want an envelope closure, or one larger piece if you’re sewing in a zipper. Keep the dimensions consistent so the front and back line up cleanly. When the fabrics are cut and pressed, lay everything out together and check the alignment before you sew a single seam.
| Closure type | Best for | What to know |
|---|---|---|
| Envelope back | Beginners | No zipper needed; easy to remove cover |
| Zipper | Clean, tailored look | Requires more precision |
| Hand-sewn closure | Small or decorative pillows | Simple, but less convenient for washing |
Assemble the pillow cover
Pin or clip the front and back pieces right sides together, keeping the cross-stitch centered. If you are using an envelope back, overlap the back panels the correct amount before pinning the full cover. If you’re using a zipper, install it first, then sew the remaining sides together.
Sew with a consistent seam allowance, usually around a half inch unless your pattern or design calls for something different. Reinforce corners with a few extra stitches so they hold up over time. The goal is a cover that looks neat from the outside and stays put through regular use.
Watch the stitching while you sew
Cross-stitch fabric can be slightly more delicate than standard quilting cotton, especially if the design has already been washed or handled a lot. Keep an eye on the front panel as you sew so it doesn’t shift or pucker. A walking foot can help feed layered fabrics evenly, but careful pinning works too if that’s what you have.
Take your time around the seams that sit close to the stitched area. You don’t want the machine foot pressing directly on raised stitches any more than necessary. If the cover is small, hand sewing the final seam may give you more control than forcing the piece through a machine at a tight angle.
Turn, press, and fill the pillow
After sewing, trim corners carefully to reduce bulk without cutting into the seam. Turn the cover right side out and use a blunt tool, like a chopstick or point turner, to shape the corners. Press the seams lightly from the back if the fabric allows it, but avoid flattening the stitched design itself.
Insert the pillow form slowly so it doesn’t catch on the seams. A pillow insert that is slightly larger than the cover usually gives a fuller, more professional look. If you’re stuffing the pillow yourself, add filling in small amounts and massage it into the corners until the shape looks even.
Finish with the details that make it feel complete
This final part is where the pillow stops feeling homemade in the rough sense and starts feeling intentional. Check the seams, smooth the surface, and make sure the design sits squarely on the front. If the pillow looks lopsided, it often just needs a little reshaping or a different insert.
For added polish, you can hand stitch the opening closed with a ladder stitch if you’re not using a zipper or envelope back. If the pillow will live on a sofa, bed, or reading chair, choose a spot where the design can be seen without being flattened every time someone sits down. That’s one of the quiet pleasures of this kind of project: the work stops being fragile and starts earning its place in daily life.
Care tips that help the pillow last
Decorative pillows made from stitched pieces deserve a little extra care. Spot clean when possible, and if the cover is removable, follow the fabric care instructions for both the cross-stitch front and the backing fabric. Harsh washing can weaken threads, fade floss, or distort the shape.
If the pillow is in a sunny room, rotate it now and then so the colors fade evenly. Store the original pattern or notes with the project in case you want to make a matching pillow later. Once you’ve figured out how to turn your cross-stitch work into a decorative pillow (step-by-step), it becomes much easier to repeat the process with other designs, seasonal pieces, or gifts for people who appreciate handmade work that actually gets used.
Find more cross-stitch designs for pillow
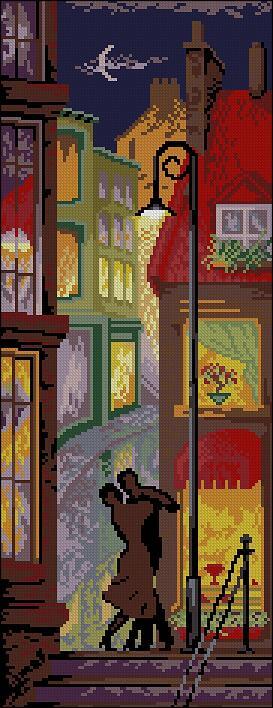
Cross-stitch pattern “Night tango”
Cross-stitch pattern “Night tango” Cross-stitch pattern was inspired by the painting “Night Tango” by Canadian artist Denis Nolet. See also another free cross-stitch designes here…

Champagne Lady by Alphonse Mucha – blackwork pattern
Champagne Lady by Alphonse Mucha – blackwork pattern Alphonse Mucha’s art nouveau style is characterised by sensuous ladies with twisting, swirling hair. This Champagne I.ady Picture and…
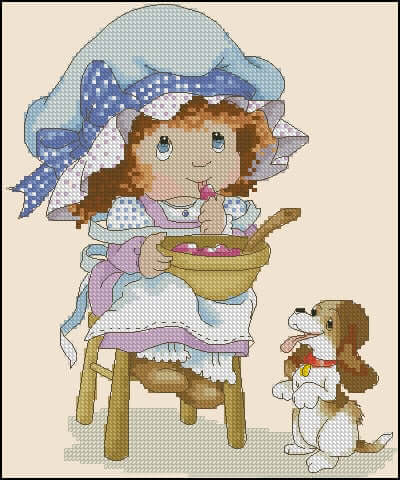
Cross-stitch pattern “Little girl with a dog”
Cross-stitch pattern “Little girl with a dog” Pattern Name: Little girl with dog Fabric: Aida 14, Cream 98w X 119h Stitches Size(s): 14 Count,…