Cross Stitch “Dressing Up Kitty”: Create Margaret Sherry’s Feline Fashionista
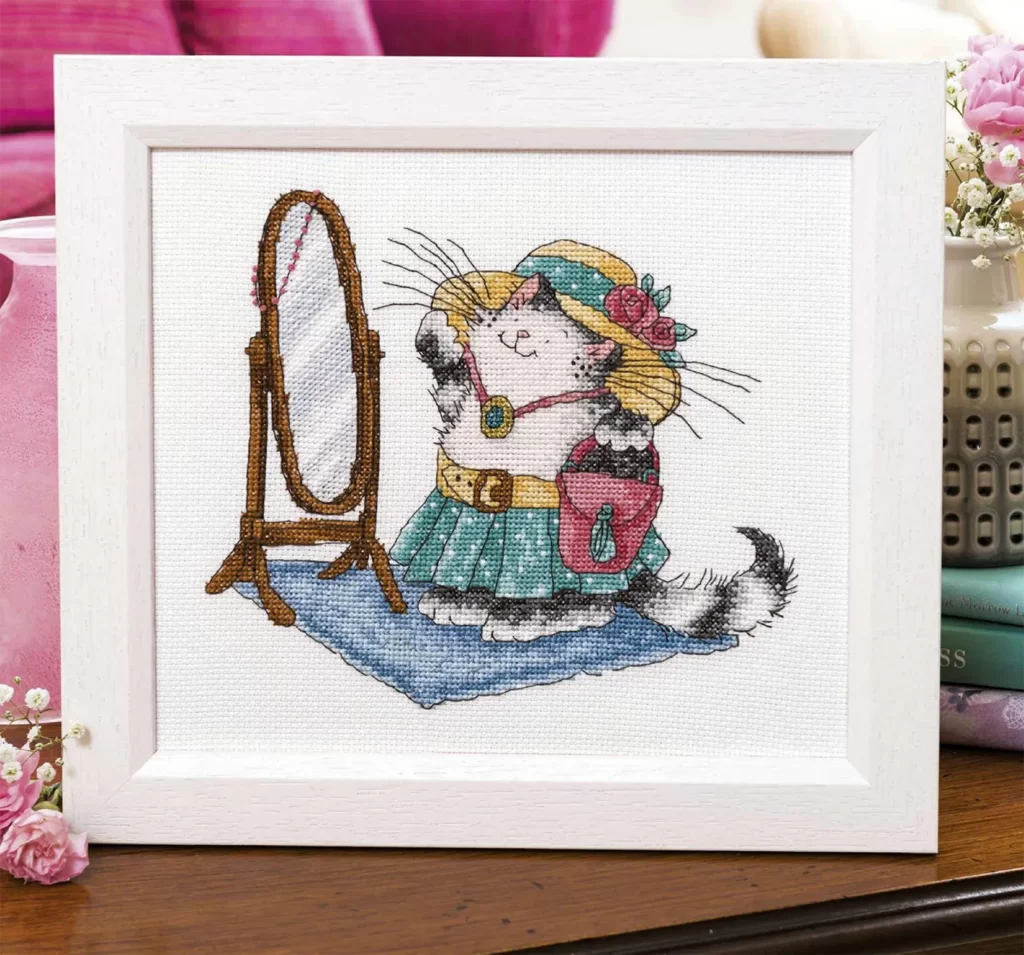
Hey there, fellow stitchers! You know how some cross stitch patterns just make you smile before you even snip the first thread? Margaret Sherry is exactly that kind of design wizard. Her animals don’t just sit there on the Aida cloth; they live, breathe, and honestly, they often look at us with a slight hint of judgment, as if saying, “Are you quite finished with my portrait yet? I have places to be.” Today, we’re diving into one of her most charming and stylish designs: “Dressing Up Kitty.” This striped beauty is getting ready for a night out, and trust me, picking out her outfit was just as difficult as picking out ours!Whether you’re stitching in a cozy apartment in Brooklyn, a sunlit crafts room in Austin, or a quiet, rainy suburb of Seattle, this project is the perfect way to add a touch of whimsy to your home decor. Grab your favorite mug of tea (or coffee, no judgment here), get comfortable, and let’s get stitching!
What’s in the Stitcher’s Toolkit?
Before we dive into the fun part, let’s gather our supplies. Margaret Sherry is known for her incredible detail, so this isn’t the time to skimp on quality.
Fabric: 14-count white Aida cloth. Cut a piece about 14×15 inches (36×38 cm). It’s the gold standard for this pattern—forgiving and lets the floss pop.
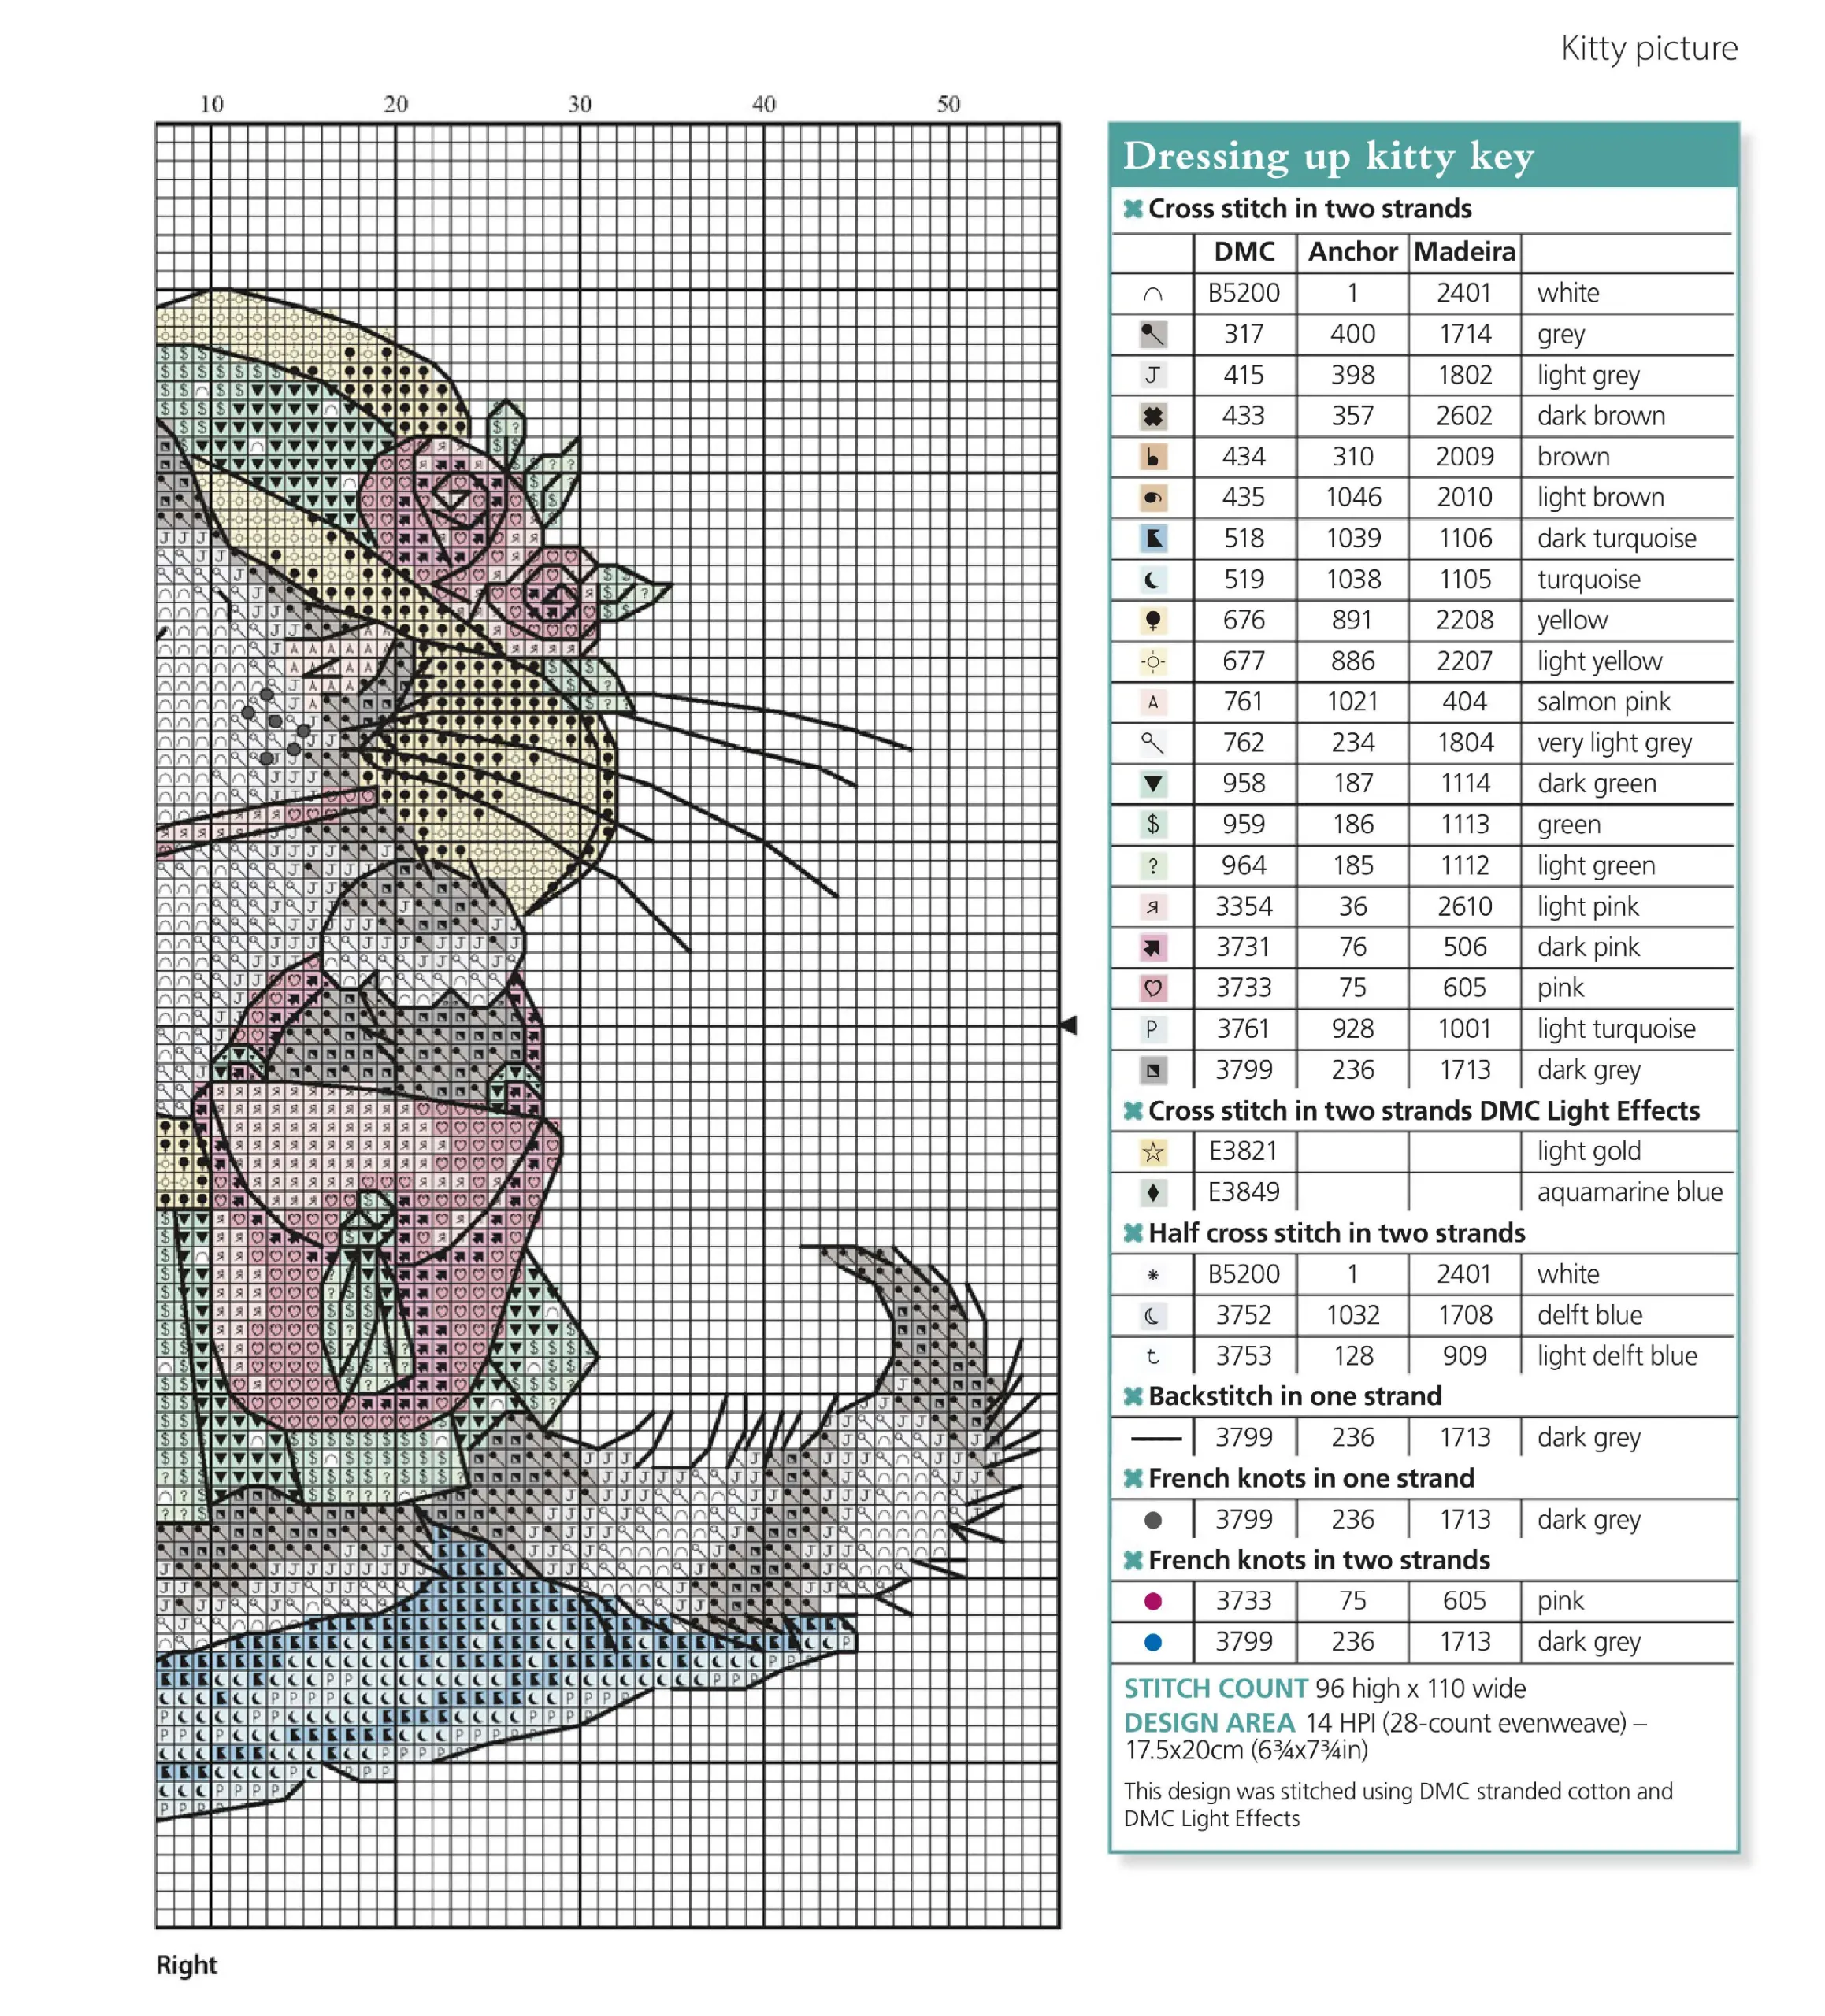
Floss: DMC cotton floss (or your preferred brand like Anchor or Madeira) according to the key. You’ll need about 20 shades! You also absolutely must grab some DMC Light Effects metallic thread—it’s what gives the kitty’s necklace that gorgeous, high-end glam.
Needles: Size 24 tapestry needles with a blunt tip.
Hoops or Frames: A scroll frame or Q-snap with a minimum working area of 8×9 inches (20.5×23 cm).
Element
Technique
Use in the design
Main areas
Full cross in 2 strands
White ground, dress, mirror and rug
Shading and texture
Half cross-stitch
Grey, blue and contrasting areas
Outlining
Backstitch in 1 strand
Dark grey: mirror, fur and face
Accents
French knots
Pink flowers and tiny details
Shimmer
DMC Light Effects
Light gold and aquamarine highlights
Step 1: Organization and a Pro-Tip from the Trenches
This pattern uses a spectacular amount of colors. We’re talking teal, polka dots, pink accents, soft blues for the rug, and a whole spectrum of grays for the mirror. If you are constantly swapping floss every five minutes, you’ll turn a relaxing hobby into a frustrating chore.
💡 Pro-Tip from my own experience: Don’t be lazy! Thread multiple needles with different shades of the same color family right from the start (like all the gray transitions for the mirror or the teals for the dress). You will save yourself a massive amount of time and sanity. Trust me on this one.
Step 2: Shading, Shadows, and the Half Cross Stitch
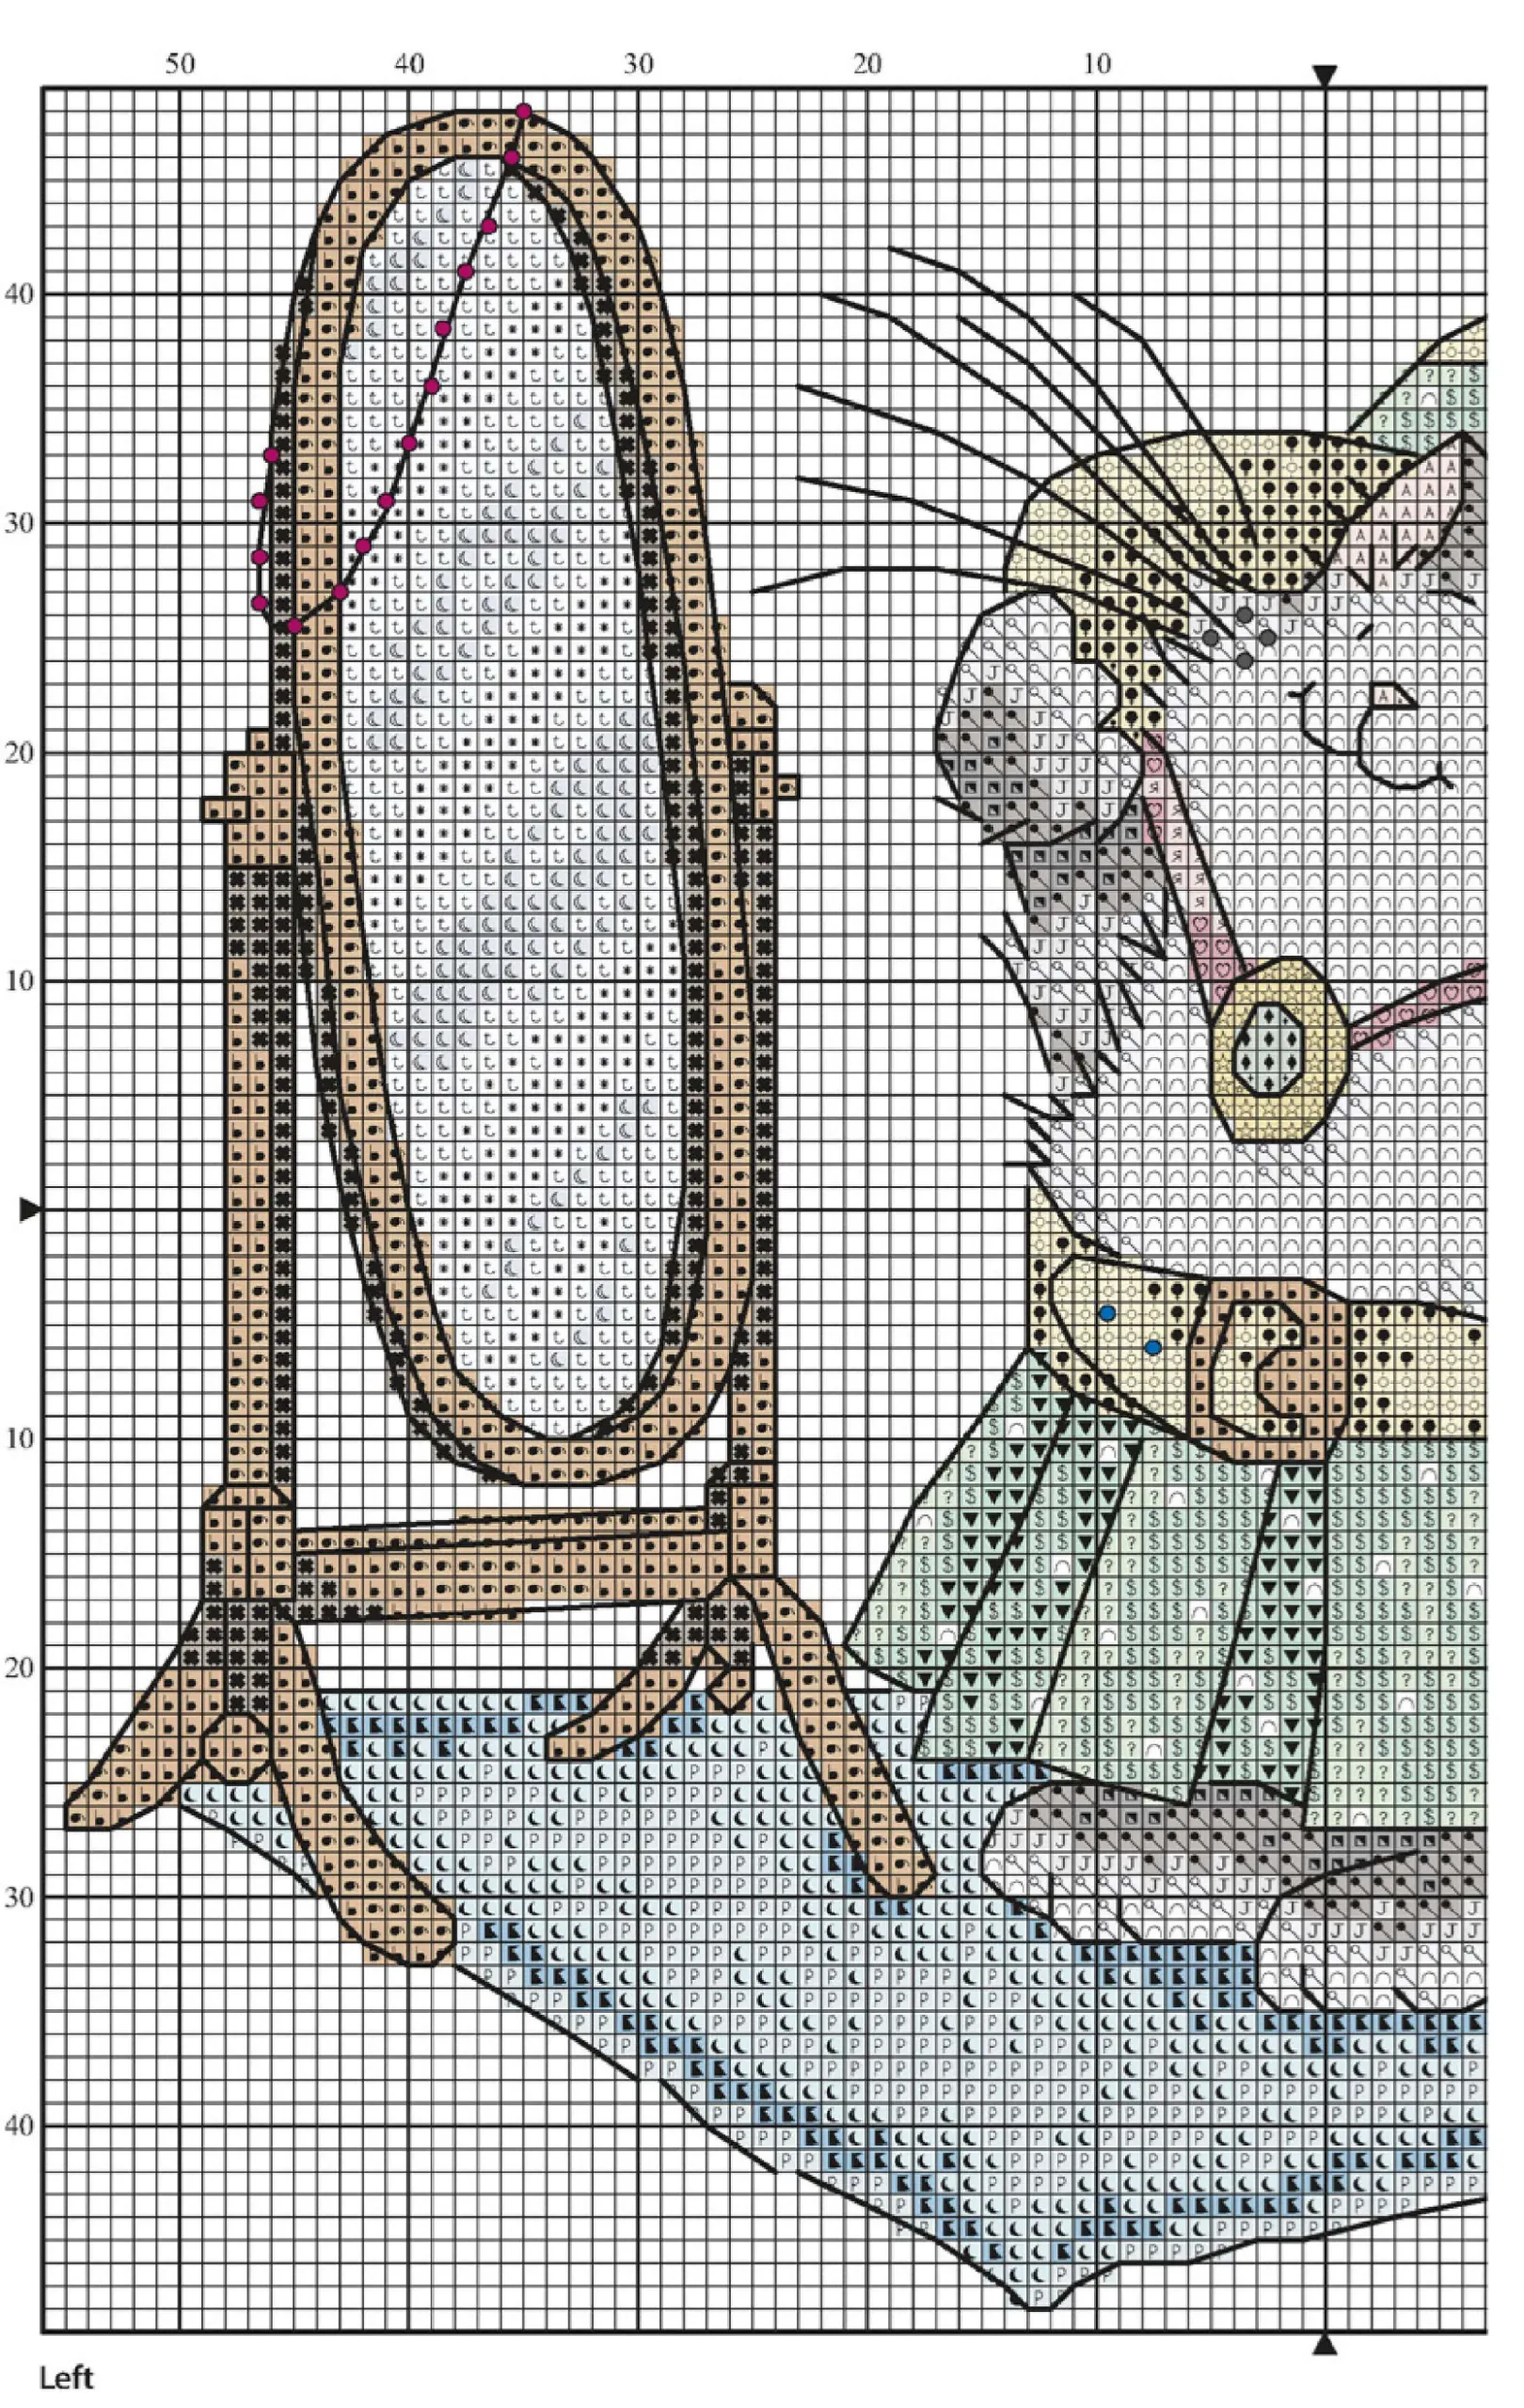
It’s always best to start with the background and larger elements. Take a close look at the rug under our fashionista’s paws—it’s stitched in soft blues, while the mirror reflection requires some serious precision with the grays. This is where the half cross stitch comes in to save the day. It creates incredible depth and movement.
Word of caution: Don’t pull your stitches too tight! If you yank the floss, the Aida will pucker, and visually, our kitty will look a little “chubby.” And while we love a plush cat, we want her to look chic, not like she ate the canary!
Step 3: Bling and Glamour: Taming Metallic Threads
Here it is—the statement necklace! The gold and aquamarine DMC Light Effects threads look absolutely stunning, but I’ll be honest: working with them is a bit of a battle. They fray, they tangle, and they have a mind of their own.
⚠️ Rookie Mistake Alert! Never cut your metallic thread longer than 12 to 15 inches (30-40 cm)! The shorter the thread, the less it rubs against the fabric and loses its sparkle. If it starts looking fuzzy, run it through some Thread Heaven or beeswax, or just dampen your fingers with a tiny bit of water.
Step 4: Backstitch: The Eyeliner of Cross Stitch
The backstitch is done at the very end, using a single strand of floss. It acts like eyeliner on a cat’s eye—it makes the entire image crisp, defined, and totally pop off the fabric.
The Golden Rule: Keep your tension perfectly even. And please, never jump more than two squares when running a long backstitch line! If you need to cross a large empty area, stitch back over the adjacent squares. Otherwise, you’ll end up with massive “parachutes” of thread on the back. And yes, we are perfectionists, so let’s keep the back looking as neat as the front!
Step 5: French Knots and the Finishing Touches
Remember the little rose on the hat and the tassel on the purse? Those are made with French knots. This is where your advanced skills shine, adding a beautiful tactile element to the piece. Wrap the floss around the needle once or twice (depending on the key) and keep your knots uniform in size. Just imagine the massive pile of clothes this kitty rejected before finally settling on this fabulous look!
Step 6: Finishing, Blocking, and Framing
When the last knot is snipped and the piece is washed and blocked (always press from the back over a fluffy towel so you don’t flatten those gorgeous stitches!), it’s time for the grand reveal.
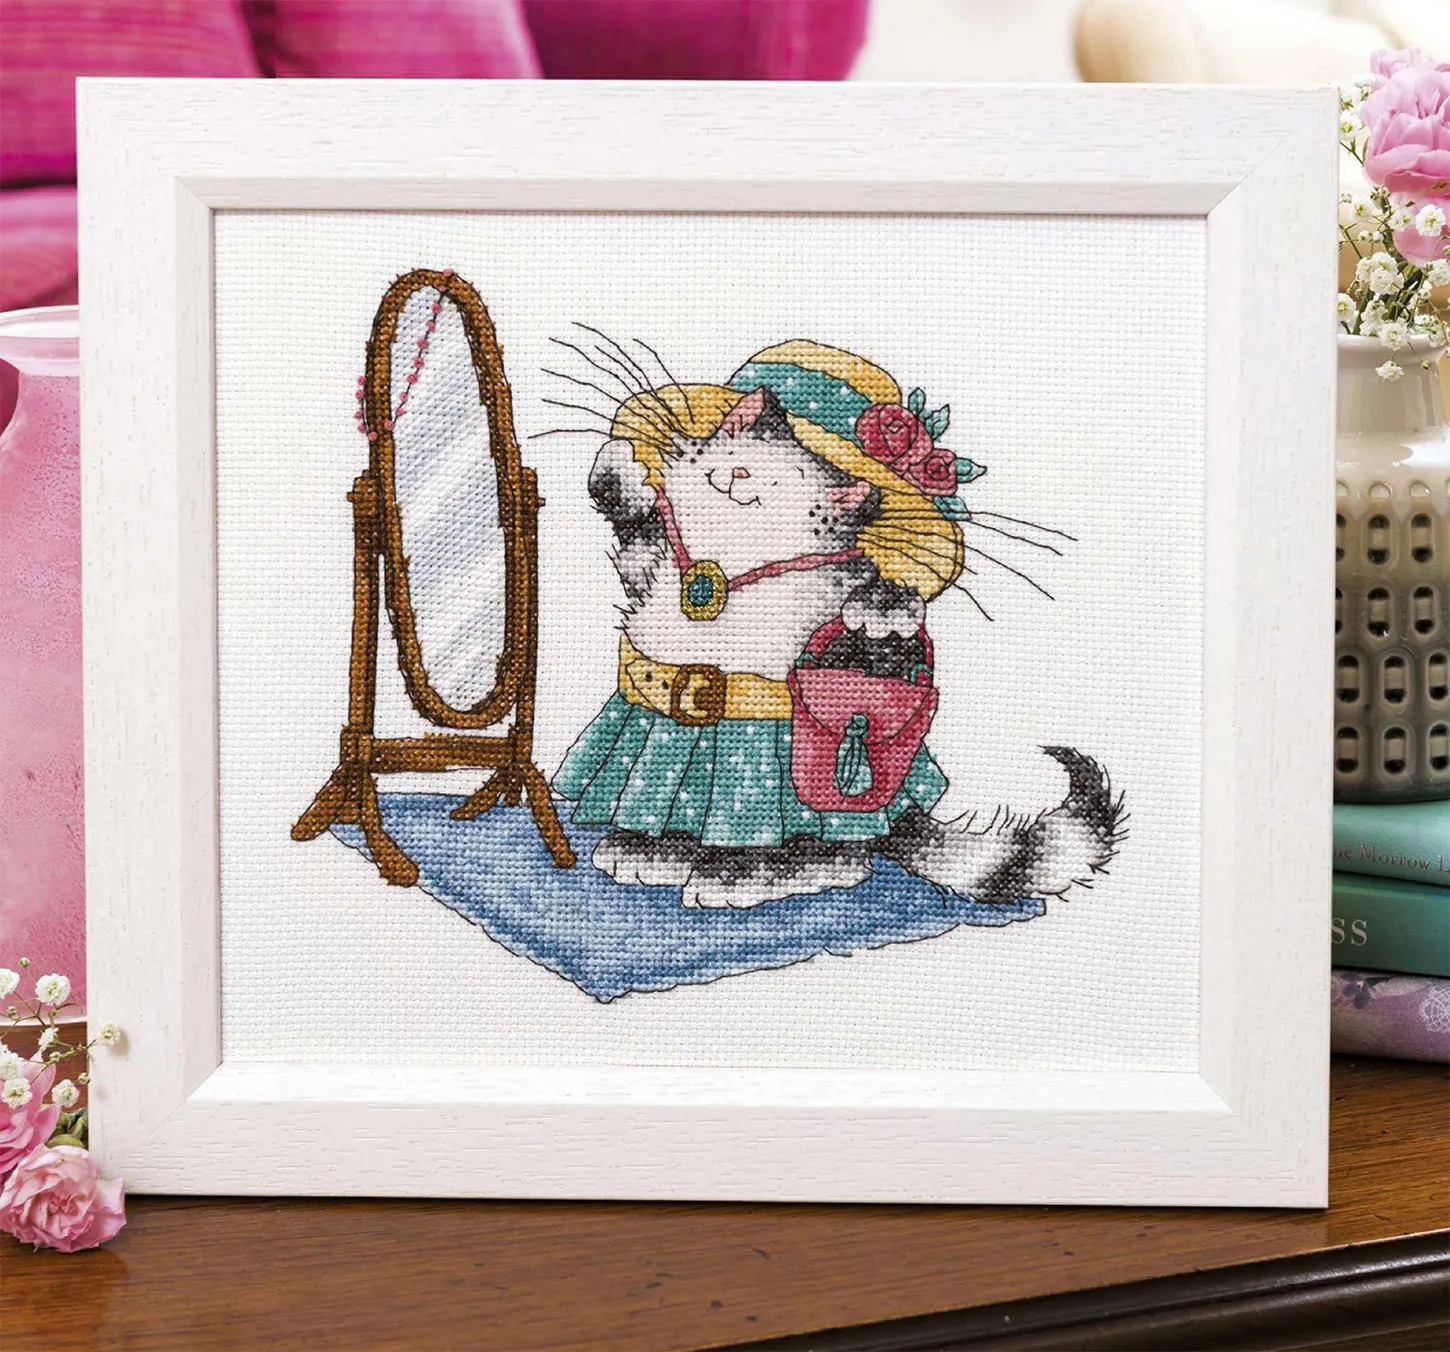
The original designers mounted this in a simple white frame to make the teal and pink colors absolutely vibrate. But I want to challenge you: try a deep emerald green, a bold magenta, or a rich navy frame. It will give the piece a totally different, vintage-modern vibe. The finished size is roughly 7×8 inches (17.5×20 cm)—the perfect scale for a cozy reading nook or a stylish entryway.
Final Thoughts
Cross stitching isn’t just about making pretty pictures; it’s a way to slow down, unplug, and create something beautiful with your own two hands. Margaret Sherry’s “Dressing Up Kitty” will teach you how to navigate complex color shading, wrestle with metallic threads, and master fine detailing.
I can’t wait to see how your projects turn out! Drop a comment below or tag us in your photos on Instagram. Let me know what kind of frame you end up choosing for this stylish feline. Happy stitching, and may your floss always be tangle-free!
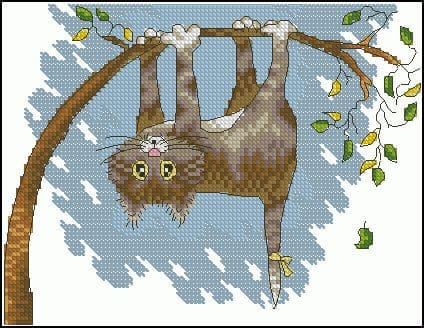
Cross-stitch pattern “Help!” This playful cat hangs upside down and asks for help! This is a small and easy cross-stitch pattern for beginners , approximately 16…