
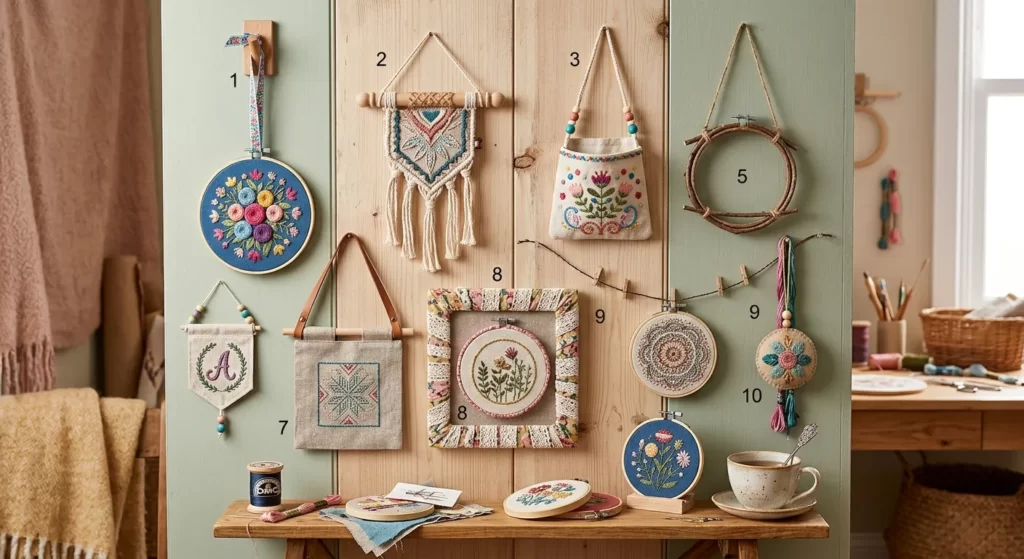
Embroidery is remarkably display-friendly when you break away from the traditional frame. There are many thoughtful, frame-free ways to finish and showcase your stitching that protect the work, suit different spaces, and adapt as your collection evolves. Below are 10 creative options that range from simple swaps to more involved projects, each with practical steps you can follow and flexible materials you can source easily. The goal is to let the needlework shine while you preserve texture, color, and detail.
Overview: showcasing embroidery without traditional framing
When you display embroidery without a frame, you’re typically balancing two things: how to secure the piece so it stays flat and undistorted, and how to present it in a way that’s easy to swap out or refresh. The methods below avoid glass and rigid framing, yet they offer sturdy supports and stylish finishes. They also work for a range of project sizes—from tiny samplers to larger panels—and you can tailor each method to your decor, whether you prefer a minimalist look or a more textured, boho vibe.
1) Dowel-mounted fabric panel
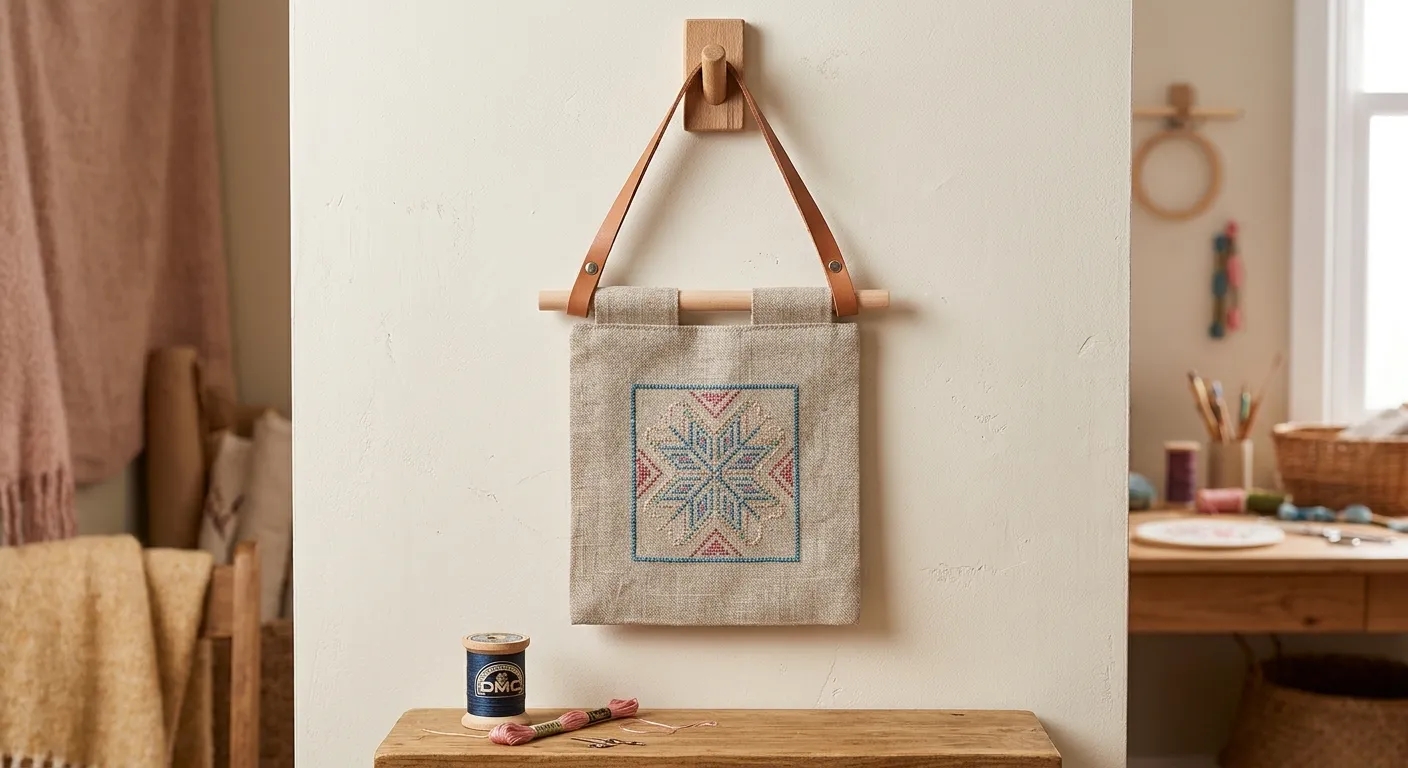
A classic, clean option that keeps the focus on the embroidery itself. The piece is mounted on a fabric backing and hung from a wooden rod, with a matching rod on the bottom to keep it taut. This approach feels museum-like without using a frame, and it’s easy to swap in new pieces.
- Materials: embroidery piece, lightweight backing fabric (cotton or linen), wooden dowel for the top, a second dowel for bottom weight, end caps or knobs, jute twine or ribbon, needle and thread, scissors, sewing machine (optional).
- Cut backing fabric slightly larger than the embroidery for easy wraparound. Place the embroidery face up on the backing and pin it in place.
- Sew a narrow channel along the top edge to hold the top dowel. Slide the dowel through the channel, then secure with a small knot or stitching at each end.
- Attach the bottom dowel using a simple pocket or by threading the fabric under the dowel and stitching it to the backing. This weight helps keep the panel flat.
- Finish edges with a neat hem or bias tape. Attach end caps to the top rod for a polished look, then hang with twine.
- Optional: add small decorative tassels or a second color ribbon to echo the embroidery’s palette.
Why it works: no frame means no glass, less risk of glare, and a crisp, lightweight presentation. It’s also very swap-friendly—unclip, replace, and rehang in minutes.
Best for: single small to medium pieces, or a cohesive display of related motifs.
2) Embroidered bunting or banner
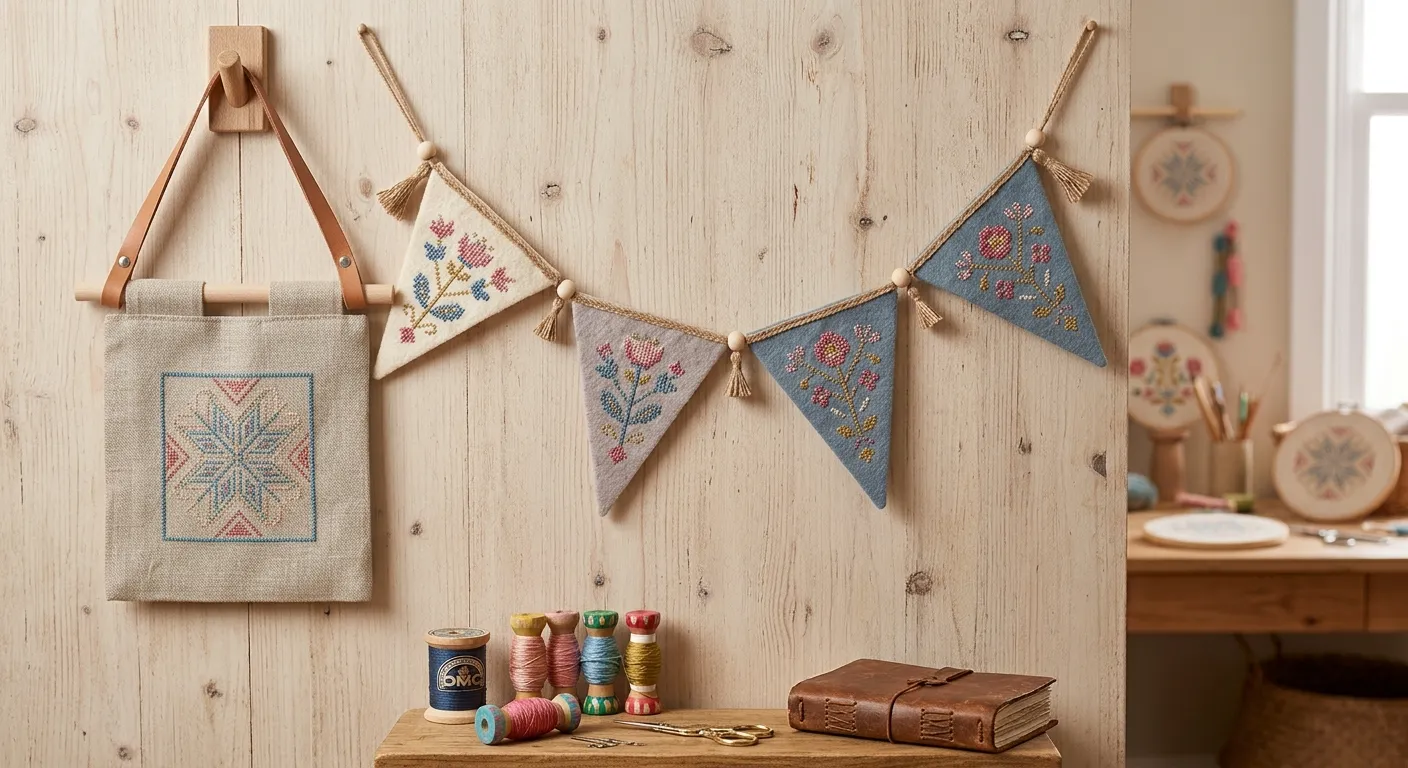
Turn a single piece or a few small motifs into a decorative banner. Suspending embroidered panels between two cords creates a festive, continuous display and makes a striking focal point along a wall or above a table.
- Materials: several embroidery pieces, sturdy backing fabric (optional), bias tape or narrow binding, long rope or twine, sewing machine or needle and thread, scissors.
- Trim each embroidery so edges are neat and uniform. Prepare the backing if you want a uniform back or add a light lining for extra stability.
- Attach the tops of each panel to bias tape, leaving even spacing. Alternatively, sew a simple loop or pocket at the top edge of each panel and thread a cord through the loops.
- String the banner along a wall, ceiling, or window with the twine, using small clips or knots to secure.
- Adjust spacing to create balance across the length of the banner.
Why it works: a banner format is inherently forgiving—parts can be swapped, rotated, or rearranged as you add more embroidery. It also creates a playful gallery that’s easy to personalize.
Best for: a group of smaller works or seasonal pieces that you’d like to rotate.
3) Fabric-covered corkboard or magnetic board display
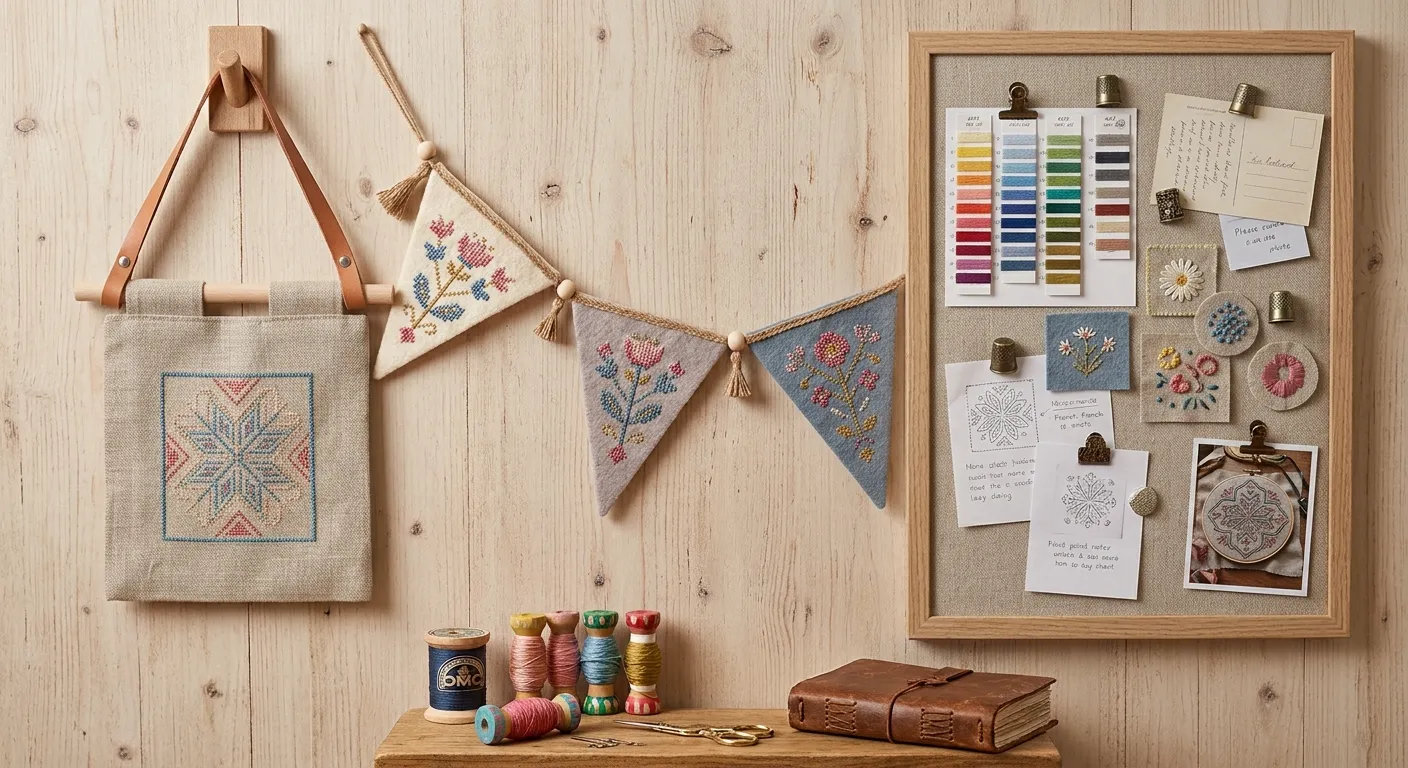
A frameless, flexible solution that’s quick to assemble and easy to update. Cover a corkboard or magnetic board with a complementary fabric, then pin or magnet embroidery pieces in place.
- Materials: corkboard or magnetic board, fabric large enough to cover the board, thumbtacks or magnets, embroidery pieces, scissors, spray adhesive or a staple gun (optional).
- Wrap the fabric tautly across the board and secure it on the back with staples, tacks, or adhesive.
- Arrange embroidery pieces on the fabric, pinning with small, unobtrusive pins or magnets. Layer as desired for texture.
- To swap out pieces, simply remove pins or magnets and replace with new embroidery.
Why it works: the board acts as a sturdy canvas that can handle heavy textures and multiple pieces. It’s also ideal for renters or shared spaces because it doesn’t require wall damage.
Best for: a rotating collection or mixed-media embroidery that benefits from a grid-like display.
4) Cushion or pillow cover
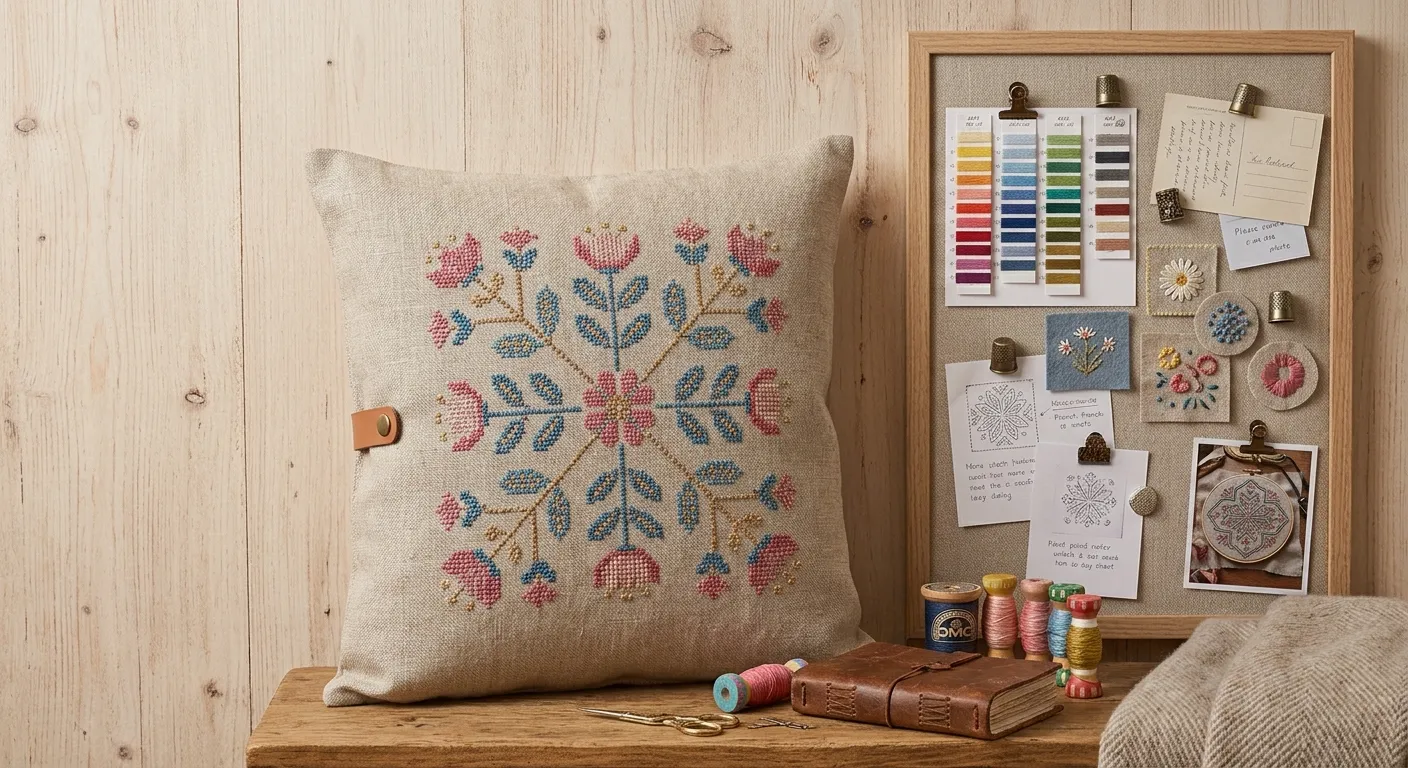
Give embroidery a functional life by turning it into a pillow. A finished piece becomes a decorative, usable art object that sits on a sofa, chair, or bed, instantly elevating a room.
- Materials: fabric for the pillow back, zipper or envelope-style closure, pillow form or stuffing, sewing machine or hand sewing supplies, coordinated thread.
- Cut the embroidery panel and backing fabric to the desired pillow size, adding 1/2 inch for seam allowance.
- Place right sides together and sew around the edges, leaving a gap to turn. Clip corners and turn right side out.
- Insert the pillow form and close the opening with a hidden stitch or zipper.
- Optionally add a reinforcing topstitch around the edges for a finished look.
Why it works: transforming a stitching piece into a pillow gives it new life and daily visibility, while also protecting the fabric under normal use. It’s a practical, decorative solution that travels with you—great for gifts too.
Best for: larger or more durable pieces that complement home textiles or seasonal decor.
5) Embroidered tote bag or clutch
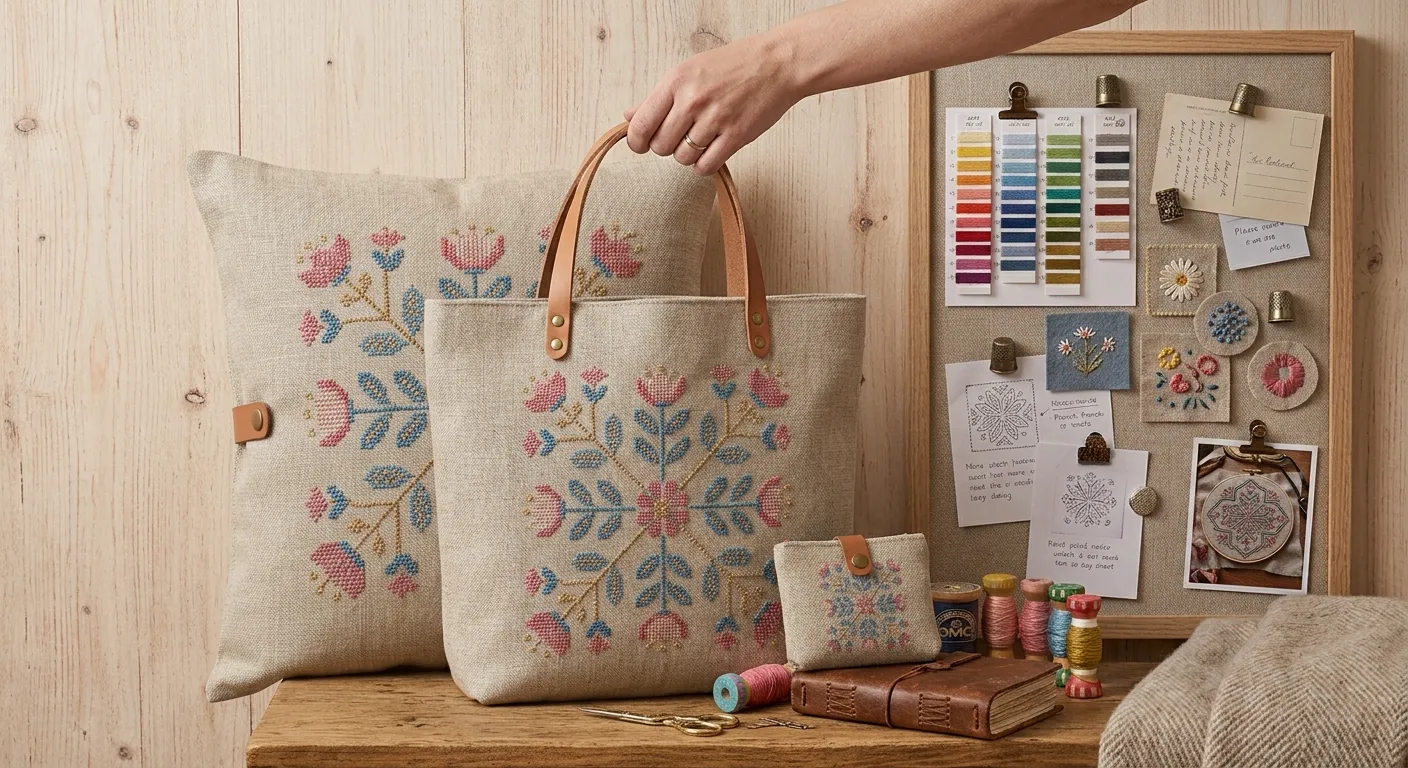
Embroidery front-and-center on a bag makes practical art you can carry or gift. A tote keeps the stitching in view in everyday life, and a clutch turns a compact piece into a stylish accessory.
- Materials: bag or tote blank (canvas, denim, or sturdy fabric), backing fabric if needed, basic sewing supplies, fusible interfacing for stability, iron, optional zipper or magnetic snap.
- Choose a bag size that frames the embroidery comfortably, ensuring the piece fits with margins.
- Appliqué or sew the embroidered panel onto the bag front, using a stable backing to prevent sagging.
- Finish edges and install closures if desired. Add a small lining or reinforcement if the bag will carry heavy items.
- Care: turn the bag inside out for cleaning and gentle hand wash when needed; air dry to preserve stitching.
Why it works: turning embroidery into a wearable or usable accessory brings the art into daily life, making it a conversation piece as well as a practical item.
Best for: bold, statement embroidery or pieces with enough scale to read from a distance.
6) Lampshade or drum shade makeover
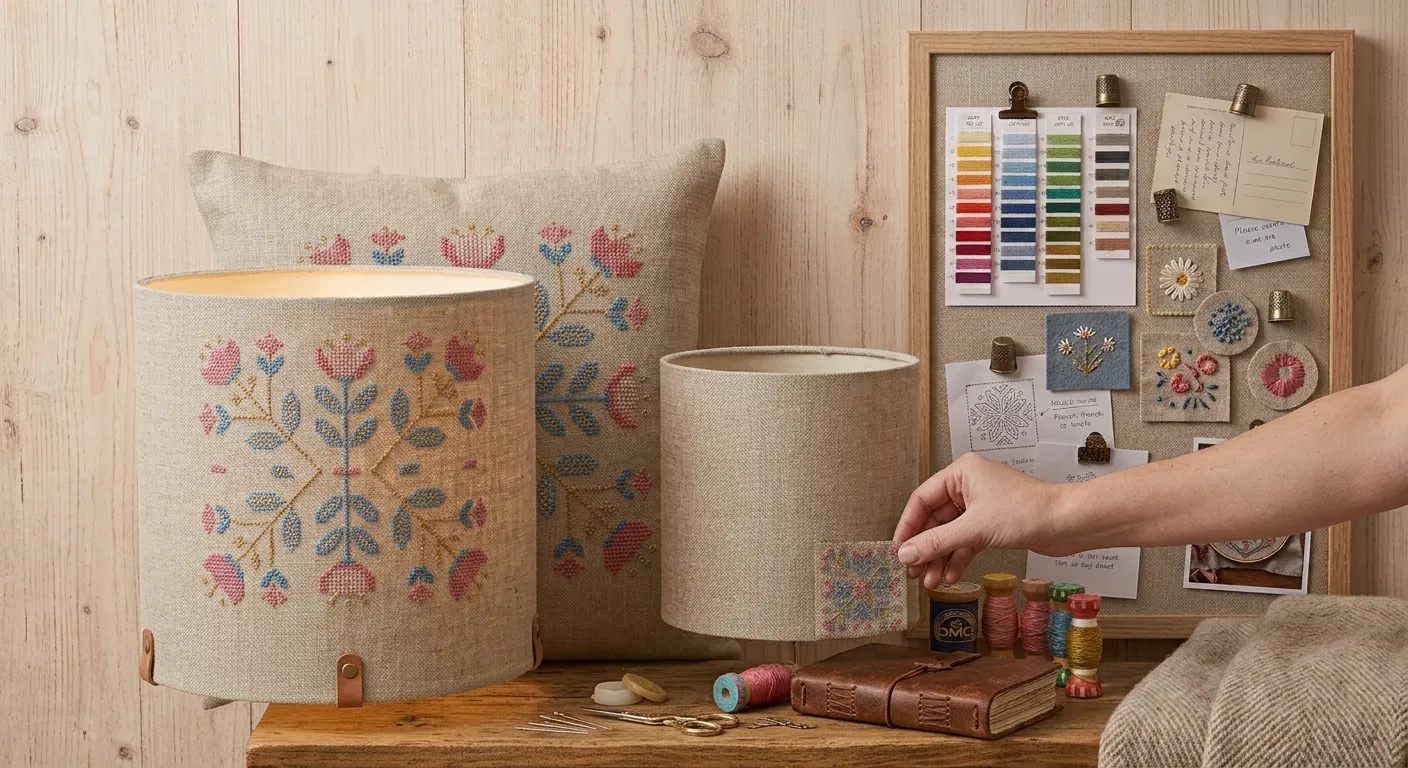
Light can transform embroidery, and a lampshade offers glow without a frame. Adhere or stitch embroidery directly to a fabric lampshade or create a removable cover for a drum shade.
- Materials: fabric lampshade or shade ring, fabric glue or spray adhesive, stabilizer if needed, scissors, iron (optional).
- Measure the shade diameter and height, then cut fabric to fit with a little extra for hems.
- Adhere the embroidery fabric to the shade surface, smoothing away wrinkles as you go. For a clean look, add a backing or stabilizer behind the embroidery if the fabric is soft.
- Trim excess fabric and secure the edges with a neat hem or surgical seam. Allow adhesive to dry fully before use.
Why it works: this approach reframes embroidery as a lighting accessory, casting color and texture across the room while keeping the artwork visible and protected behind fabric.
Best for: smaller to mid-size embroidery with strong color or high-contrast stitches.
7) Table runner or placemats
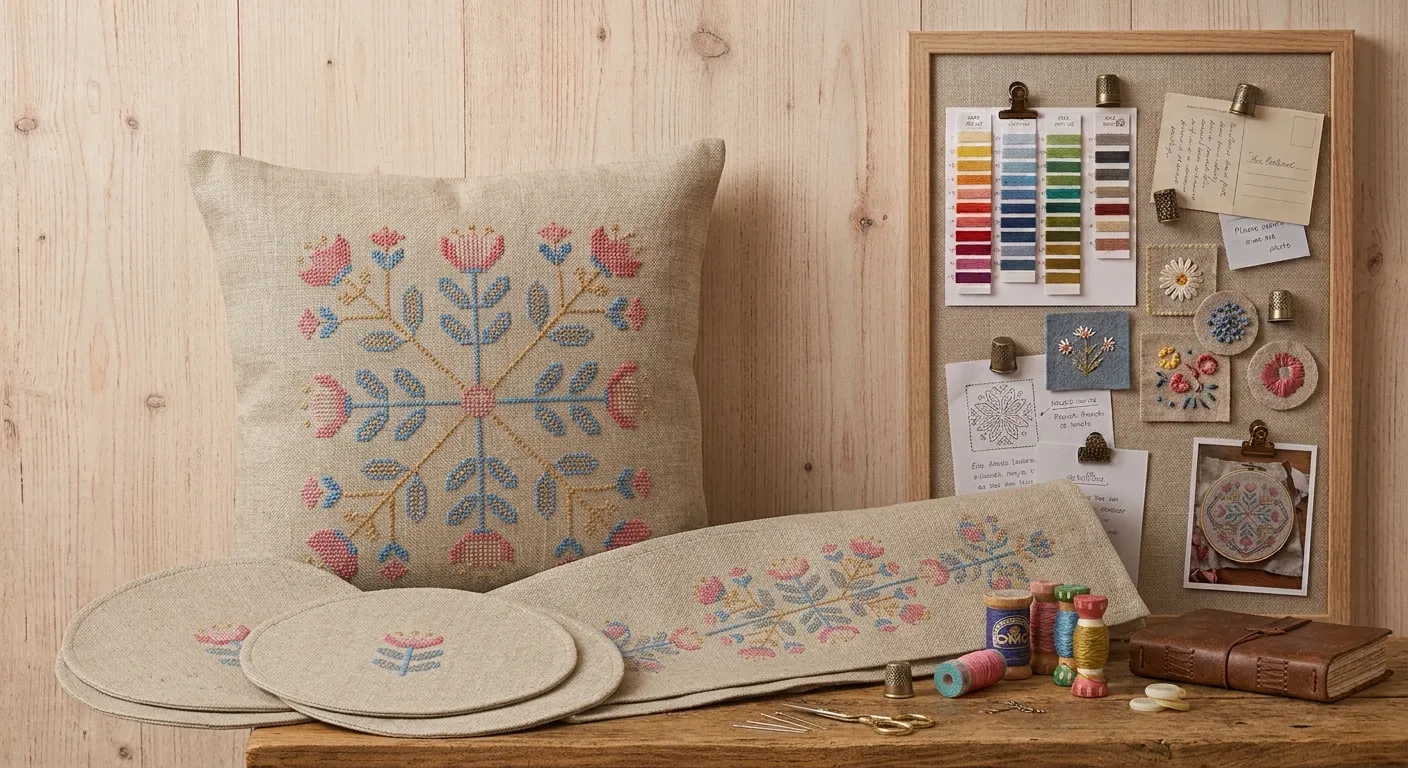
Group related embroidery into a cohesive table setting. A table runner or set of placemats is both decorative and functional, turning embroidery into a centerpiece for meals and everyday dining.
- Materials: long fabric panel or multiple embroidery panels, backing fabric, binding or bias tape, sewing machine, rotary cutter, iron.
- Join multiple embroidered panels into a single runner, or mount a large piece as a standalone placemat or runner.
- Edge-finishing: sew bias binding along the raw edges to prevent fraying and give a polished finish.
- Press and test for flatness. Add a light spray of fabric stabilizer if needed to prevent stretching over time.
Why it works: table textiles give embroidery a practical home, letting the art be appreciated by guests and family during daily life or special occasions.
Best for: mid-sized embroidery that can be read from across a table and coordinated with home decor.
8) Wall tapestry with a baton and fringe
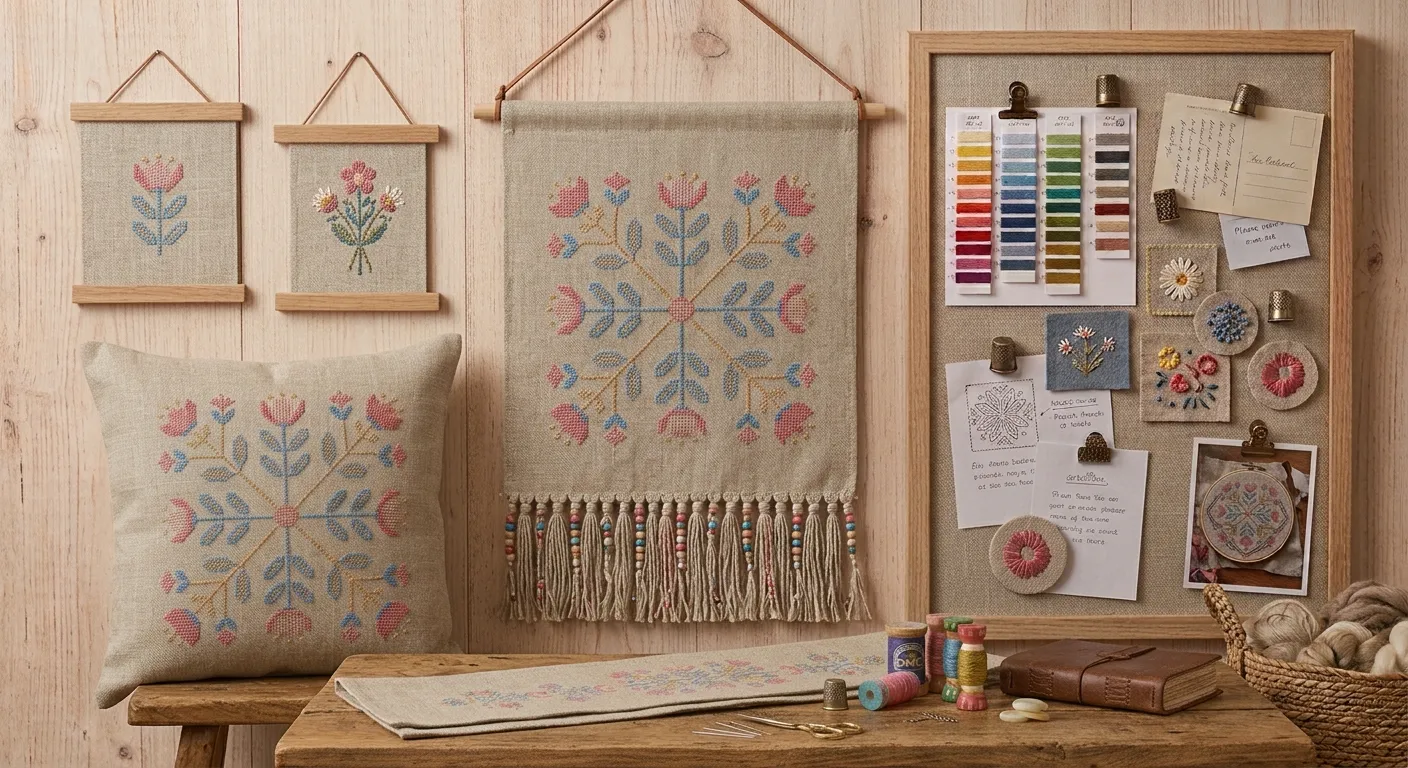
For larger works, consider turning the embroidery into a wall tapestry. Attach a thick textile baton at the top and, if you like, a decorative fringe to the bottom for a finished, gallery-ready look—no frame required.
- Materials: large embroidery piece, heavy fabric for backing, wooden baton or decorative rod, fringe or tapestry trim (optional), string or rope for hanging, needle and thread.
- Trim the embroidery and backing to the final dimensions. Attach the top edge to a baton with a simple rod pocket or a stitched channel.
- Optionally add a bottom weight or fringe for balance and a tactile finish.
- Hang with a secured rope or cord, keeping the wall surface free of nails if possible.
Why it works: a tapestry-style display enlarges the piece’s presence without a frame, and the baton adds a tactile, architectural finish that complements many interiors.
Best for: large or multi-panel embroidery that deserves a bold, sculptural presence.
9) Mini-quilt or wall-hanging with a built-in sleeve
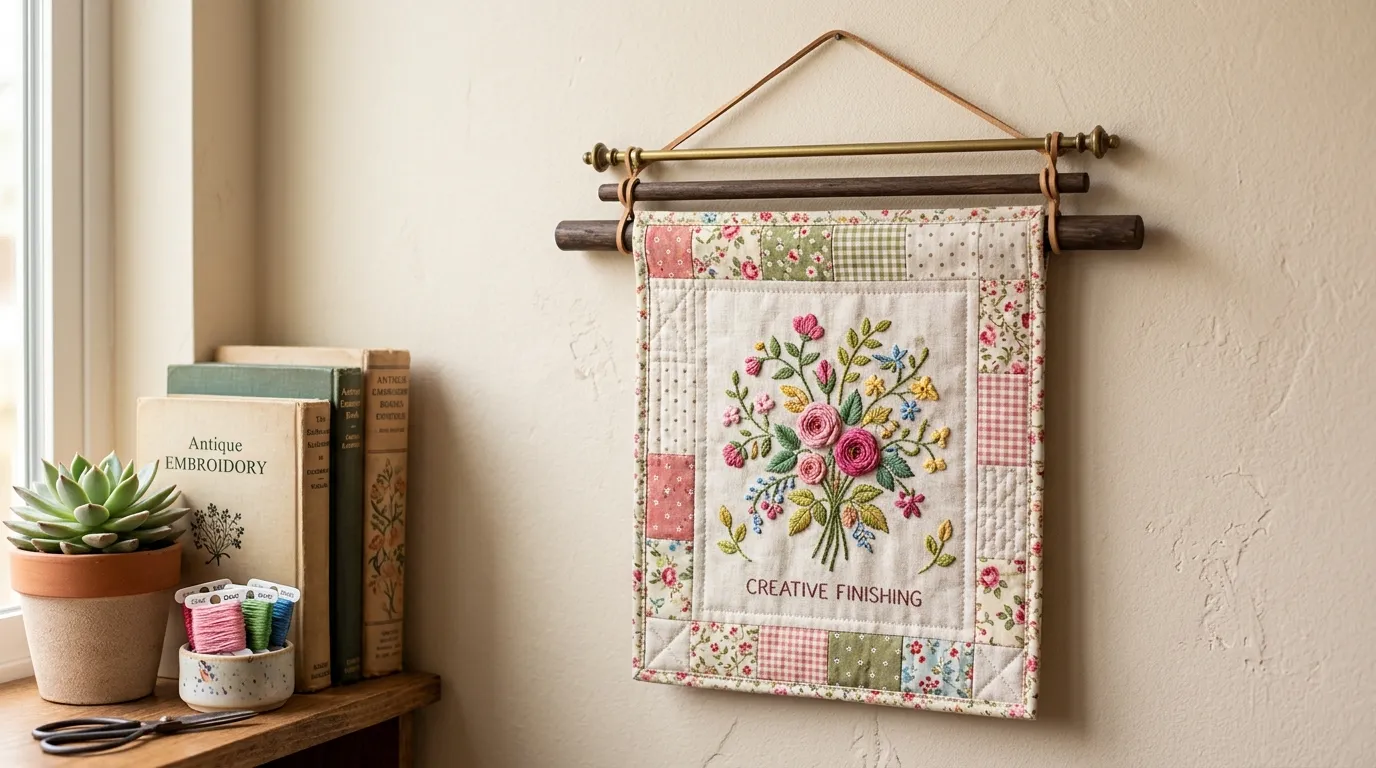
A small quilt or wall-hanging can be a flexible, frameless way to present embroidery that’s also cozy and textural. Sew a simple fabric sleeve along the top to hang from a rod or dowel, and optionally bind the edges like a miniature quilt.
- Materials: embroidery panels, backing fabric, batting or fusible fleece for loft, binding, dowel or rod for hanging, sewing supplies.
- Layer embroidery, batting, and backing; baste or pin to hold in place.
- Quilt the layers as desired to add texture and stability (straight-line quilting works well for display pieces).
- Finish with a binding and a rod sleeve at the top. Thread a dowel through the sleeve for hanging and add a small weight or tassels for balance at the bottom.
Why it works: this method blends the comfort of a textile art piece with the sophistication of a framed exhibit, while keeping the display entirely frame-free.
Best for: medium-to-large embroidery that benefits from added texture and a composed edge finish.
10) Clip-string gallery for rotating displays
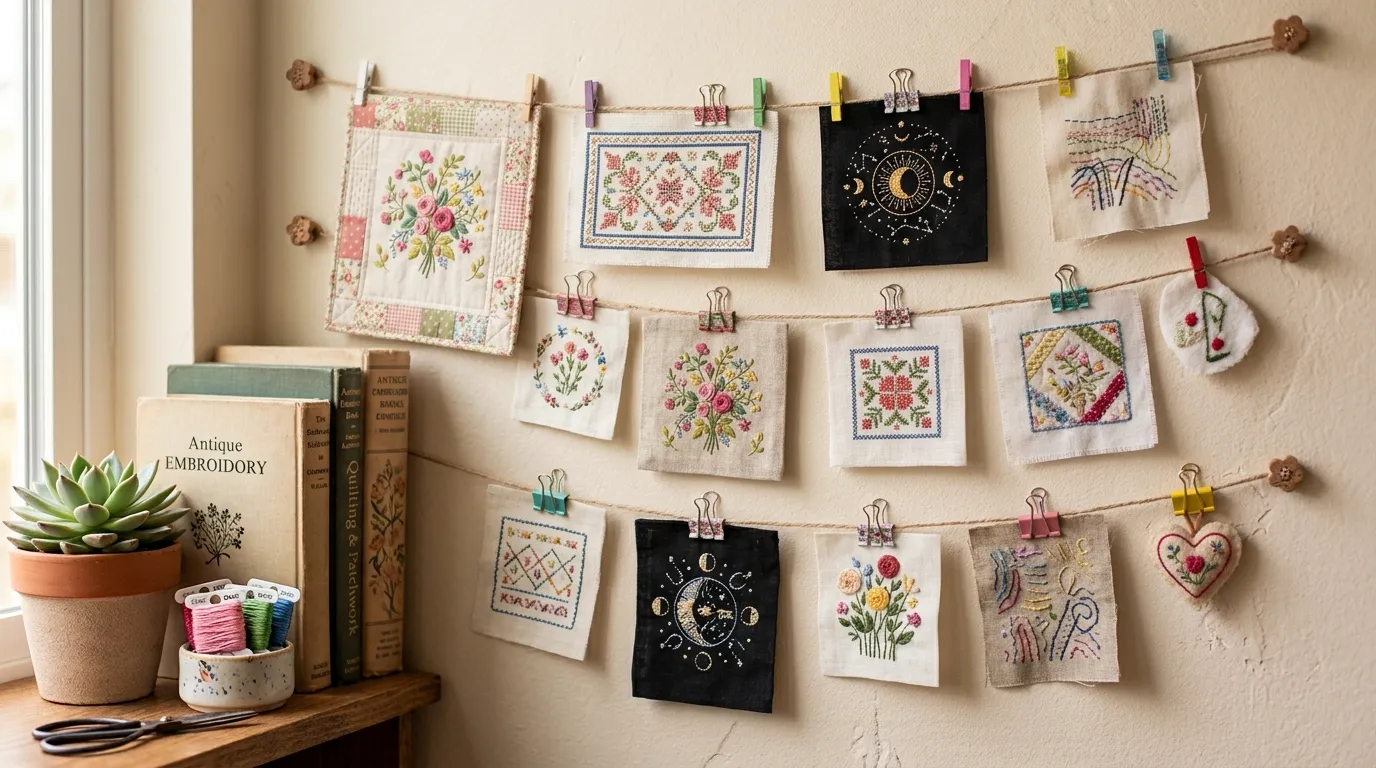
Create a lightweight, ever-changing gallery by stringing a line across the wall and clipping embroidery pieces along it. It’s particularly handy for swapping out designs by season or mood.
- Materials: sturdy wall string or thin cable, small binder clips or wooden clothespins, wall hooks or nails, embroidery pieces, level to keep the line straight.
- Mark the wall for even spacing and install hooks or nails. Thread the string taut between them at the desired height.
- Clip embroidery pieces along the line, spacing evenly. Adjust tension and position as needed.
- When swapping pieces, simply unclamp and re-clamp new pieces. Keep a small storage rack or basket for spares nearby.
Why it works: this approach offers a dynamic, budget-friendly display that’s incredibly easy to update. It’s also ideal for hosting a rotating “show” of finishes and experiments.
At a glance: quick comparison of finish-and-display options
| Method | Base/Support | Swap-ability | Best for | Considerations |
|---|---|---|---|---|
| Dowel-mounted fabric panel | Wooden dowels, fabric | High – easy to swap | Single piece or cohesive set | Requires wall space; dust exposure |
| Embroidered bunting/banner | Fabric panels, bias tape, cord | High | Groups of small works; seasonal décor | Long length requires wall space |
| Fabric-covered cork/magnetic board | Cork board or magnetic board | High | Rotating gallery; mixed media | Need wall or stand space |
| Pillow or cushion cover | Back fabric; zipper or envelope | Moderate | Everyday display; gifts | Care considerations with washing |
| Tote bag or clutch | Bag front panel | Moderate | Wearable art; gift item | Fabric choice matters for durability |
| Lampshade makeover | Fabric shade; glue/adhesive | Moderate | Ambient display with light | Adhesive may affect removeability |
| Table runner/placemats | Long fabric panels | Moderate | Functional display for meals and gatherings | Constant cleaning may affect longevity |
| Wall tapestry with baton | Large embroidery, baton or rod | Low to moderate | Bold, wall-wide statement | Requires space and handling care |
| Mini-quilt or wall-hanging | Backing, batting, binding | Moderate | Textured display; durable | Heavier; needs proper hanging method |
| Clip-string gallery | String or cable; clips | Very high | Rotating, casual display | Line maintenance; dust exposure |
Frequently asked questions
What does it mean to finish embroidery without a frame?
Finishing without a frame means preparing and presenting the embroidery so it’s stable, flat, and visually complete without encasing it in glass or a rigid picture frame. It often involves mounting on fabric or a panel, attaching to a rod or board, or sewing the stitching into a functional item like a cushion or tote. The goal is to protect the piece while allowing the work to be shown prominently in daily life.
How do I choose the best frameless display method for a specific piece?
Consider the piece’s size, texture, and color palette, as well as where you want to hang or place it. For a large, bold piece, a wall tapestry or baton display can create impact. For small samplers, a dowel-mounted panel or clip-gallery often works best. If you want something functional and repurposable, a cushion cover or tote adds everyday utility while keeping the embroidery visible.
How can I protect my embroidery in a frameless display?
Protecting embroidery without framing involves several practical steps: use stable, breathable backing when mounting; choose fade-resistant threads or keep display away from direct sunlight; dust the piece regularly with a soft brush or cloth; avoid sharp edges or heavy handling; and consider a light, removable sealant or backing if the piece has delicate fibers. For textiles on display for long periods, occasional patting and reflowing of the fabric helps prevent stiff, creased areas.
Are these methods suitable for all fabrics and fabrics with delicate stitches?
Most frameless methods work best with stable, durable fabrics and stitches. Very delicate fibers or fine, loosely woven textiles may benefit from extra stabilizer or backing during mounting. If you’re unsure, test a small corner and proceed slowly, ensuring you don’t pull or stretch the embroidery.
How do I swap pieces without damaging the display?
Use removable fasteners (clips, binder clips, or magnets) and avoid permanent alterations wherever possible. For dowel displays or banners, ensure the top edge has a clean channel or sleeve so you can easily slide pieces in and out without sewing over finished edges.
Can I wash frameless displays if they get dirty?
Washing depends on the materials and construction. For fabric-mounted displays, spot clean with mild soap and water if the backing and embroidery permit. For cushions or bags, follow the care instructions of the outer fabric. When in doubt, remove detachable embroidery pieces and launder the backing separately, or consult a textile care guide for your fabric type.
What maintenance do frameless displays require over time?
Regular dusting, checking for loose pins or adhesives, and verifying that rods, cords, or battens remain straight are helpful. If a display is sun-exposed, rotate pieces to minimize fading and ensure even aging. For large or heavy pieces, inspect for sagging and adjust supports as needed to maintain a taut, flat presentation.
Whether you’re filling a tiny apartment, planning a rotating gallery, or gifting a handmade treasure, finishing embroidery without a frame opens up a world of display possibilities. The key is choosing a method that respects the fabric and stitches, fits your space, and lets the artistry take the center stage. With a bit of improvisation and careful construction, your embroidery can shine in entirely frame-free magnificence.

Cross-stitch pattern “Wedding”
cross-stitch pattern “Wedding” Pattern Name: Wedding Fabric: Aida 14, White 105w X 107h Stitches Size(s): 14 Count, 19.05w X 19.41h cm 11 Count, 24.25w X…
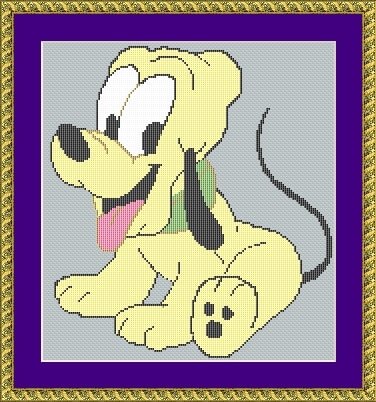
Disney cross-stitch pattern “Pluto Baby”
Disney cross-stitch pattern “Pluto Baby” See more cross-stitch patterns for kids See also cross-stitch patterns oriental It’s another Disney’s cross-stitch design, very simple,…
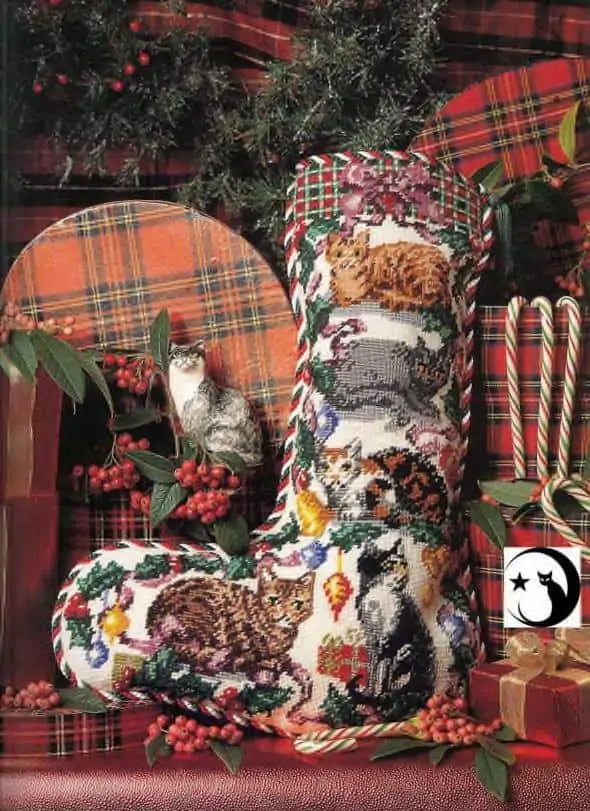
Christmas stocking Cats cross-stitch design
Christmas stocking Cats cross-stitch design MATERIALS • 10 count double-thread canvas 56 x 40.5cm (22 x 16in) • Contrasting backing fabric (of a similar weight…
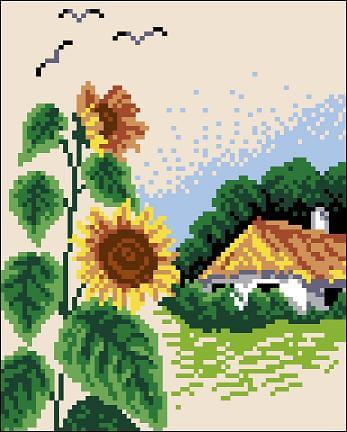
Free cross-stitch pattern “Village”
Free cross-stitch pattern “Village” Pattern Name: Village Fabric: Aida 10, Cream 77w X 94h Stitches Size(s): 10 Count, 19.56w X 23.88h cm 14 Count, 13.97w…