
The Art of Blackwork Embroidery: History, Patterns, and Beginner Tips
Blackwork embroidery is a timeless form of needlework that uses black thread on light fabric to create striking, high-contrast designs. Its appeal lies in crisp lines, bold outlines, and intricate fills that read clearly from a distance yet reward a closer look with refined texture. This article explores what blackwork is, how it evolved, the kinds of patterns you’ll encounter, and practical guidance for beginners who want to start today.
What is blackwork embroidery?
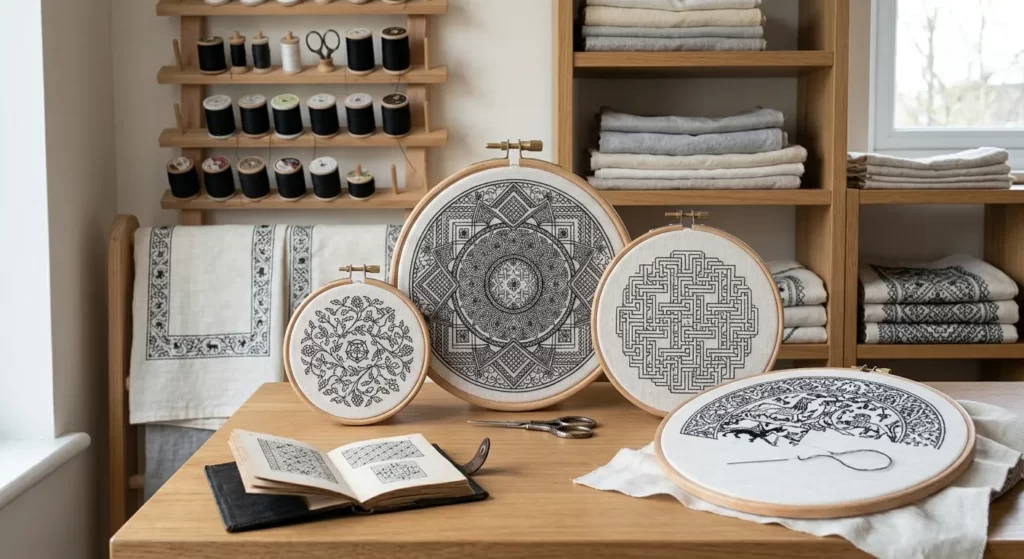
At its core, blackwork is a style of embroidery defined by the use of black or very dark thread on white or natural fabric. The contrast is intentional: the thread does the talking, while the fabric offers a quiet backdrop. Early practitioners often stitched on linen or cotton, producing designs that range from bold geometric frames to delicate floral motifs. While many contemporary artists experiment with color, the classic black-on-white look remains a defining characteristic that makes the stitches stand out with clarity.
History of blackwork embroidery
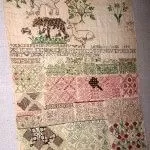
The history of blackwork is layered and regional, reflecting broader European textile traditions. The form emerged in medieval Europe and gained particular strength in later centuries on both ecclesiastical and household textiles. Its durability and its emphasis on line work made it well-suited for collars, cuffs, napkins, and devotional linens. Across the landscape of the time, blackwork patterns often relied on repeating geometric motifs, intricate borders, and a sense of rhythmic symmetry.
Two regional strands are frequently discussed by historians and textile enthusiasts. In Spain and surrounding regions, a long-standing tradition of black embroidery developed on linen and cotton fabrics, with patterns that favored crisp outlines and repeatable motifs that could be produced in large quantities for ceremonial or daily use. In England and parts of Northern Europe, blackwork was commonly seen on household linens and ecclesiastical pieces, with its own distinctive balance of grid-based fills and decorative edging. Over time, the techniques and motifs from these regions influenced one another, and modern practitioners often blend historical references with contemporary design sensibilities.
Today, blackwork endures because it is approachable for beginners and richly expressive for seasoned makers. The method’s emphasis on stitch economy—the ability to create compelling visuals with a limited palette—offers a practical entry point into more complex embroidery traditions without sacrificing depth or beauty.
Patterns and motifs in blackwork
Patterns in blackwork fall into a few broad families, though many projects mix and match motifs. Understanding these categories helps you choose projects that suit your skill level and aesthetic goals.
Geometric grids and tessellations
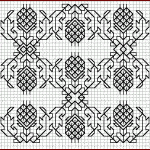
Geometric patterns form the backbone of traditional blackwork. Think of repeating shapes—squares, diamonds, chevrons, and lattices—that align along a grid. These designs translate well to long borders and framed panels. The appeal is mathematical in feel: precise, predictable, and elegant. When you work from a grid, you can plan fills with backstitch and long-and-short stitches to create solid areas or decorative shading.
Floral and botanical motifs
Floral motifs appear as vines, leaves, blossoms, and tendrils that trace along a line or frame. In many historical examples, these forms are stylized rather than photorealistic, emphasizing rhythm, balance, and mirroring. Modern versions of blackwork often experiment with botanicals in a way that echoes traditional outlines while introducing softer shading or a more fluid line. Floral patterns bring a sense of movement and natural beauty to a project, even when rendered in a single color.
Text, initials, and borders
Initial letters, short phrases, or borders are enduring features in blackwork design. Monograms and slogans can be integrated into towels, sampler pieces, or heirloom textiles. Borders provide a clear framing device for a central motif, helping to define the piece and giving beginners a straightforward goal: complete a neat border before moving on to interior fills.
Reading and adapting patterns
Reading a blackwork pattern usually involves a simplified guide—either a grid, a line drawing, or a set of contour lines that indicate where stitches go. Adaptation comes naturally with practice: you can scale a pattern up or down, adjust the density of fills, or convert a design to fit a specific fabric size. For beginners, starting with a small motif on a practice square helps build confidence before tackling a larger panel or garment.
Materials and tools: choosing what you need
Blackwork thrives on clean materials with good stitch clarity. The choices you make impact how easy it is to learn and how long a project will take. Here’s a practical guide to selecting fabrics, threads, and tools.
- Threads: Black or very dark cotton embroidery floss is traditional. Choose a brand and weight you find comfortable; two-ply to four-ply floss is common. Some designers favor a single-strand technique on linen for crisp lines, while others prefer multiple strands for bolder outlines.
- Needles: A sharp embroidery needle in the size that matches your fabric count. For linen and fine fabrics, a size 7 to 9 needle is a good starting point; for mid-weight cotton, a size 5 to 7 can be comfortable.
- Hoop or frame: An embroidery hoop keeps fabric taut and stitches even. A light, stable frame or a magnifier with a stand can be helpful when you begin, especially for tiny grids.
- Transfer tools: Water-soluble pen, light pencil, or tracing paper with a soft light source. Choose a method you can remove cleanly without leaving marks after washing.
- Lighting and comfort: Clear, indirect lighting reduces eye strain. A comfortable chair and a relaxed posture help you maintain consistent tension over long sessions.
Techniques and stitches that define blackwork
Blackwork relies on a few core stitches to achieve its hallmark look: crisp lines, defined outlines, and even fills. Beginners should start with a small toolkit of stitches and gradually add more as confidence grows.
| Stitch | What it looks like | Use in blackwork | Tips |
|---|---|---|---|
| Backstitch | A continuous line of stitches that creates a solid outline | Outlines, contour lines, and text | Keep stitches straight and aligned with the pattern; pull evenly for a smooth line |
| Stem stitch | A series of overlapping diagonal stitches that form a continuous line with a slight rounded edge | Edge work, gentle curves, decorative borders | Work from left to right if you’re right-handed; rotate fabric to reduce hand strain |
| Running stitch | A simple, even line with spaces between stitches | Guiding lines, delicate details | Use a light touch; practice even spacing on scrap fabric |
| Long and short stitch | A fill technique that creates shading through variable stitch lengths | Shaded fills within geometric or natural motifs | Work in a cohesive direction; plan light-to-dark transitions before filling large areas |
| Satin stitch | Smooth, solid area of stitches laid parallel | Solid black fields within a design | Keep stitches evenly spaced and the fabric flat; avoid crowding stitches too tightly |
Beginner tips and a practical starter plan
Starting blackwork is approachable, but a small, thoughtful plan helps you build skill without frustration. Here’s a staged approach that emphasizes steady progress and tangible results.
- Start with a simple motif or border on a small piece of fabric, such as a 4–6 inch square. This gives you a concrete goal without overwhelming you.
- Prepare a light-colored fabric, a single spool of black thread, a couple of needles, a hoop, and a water-soluble marker. You don’t need every gadget to begin, but a stable setup matters.
- Use a pattern you can clearly see and transfer it onto the fabric with a gentle method. If lines bleed or smudge, switch to a more precise transfer method.
- Master backstitch for outlines and stem stitch for borders first. Then add a simple filled area with long-and-short stitches or satin fill as your confidence grows.
- Short sessions—30 to 60 minutes—reduce fatigue and help you maintain even tension. Take breaks and re-check your fabric alignment.
- After a session, inspect your work for consistency. If lines drift or stitches pull, re-anchor your fabric, adjust tension, and resume from the last clean edge.
- When the project is complete, wash gently according to fabric care rules, press with a minimal-heat iron, and consider framing or turning it into a textile item (pillow cover, table runner, or napkin) to enjoy the handiwork.
Finishing, care, and long-term maintenance
Careful finishing preserves the crisp look of blackwork. If you’re framing the piece, use an acid-free mat and avoid glues that could seep into the fabric. For textiles destined to be used, such as napkins or towels, consider a light washing before framing and a gentle machine wash when needed, following the fabric’s care instructions. Ironing should be done on the reverse side with a pressing cloth to avoid flattening essential stitches. Keep away from direct sunlight to prevent any gradual fading of the already dark threads, and store flat or rolled rather than folded to reduce creases that can distort line work.
Practical planning: turning patterns into projects
Transformation from a pattern to a finished item hinges on a few practical choices. First, scale matters. A tiny motif requires more accuracy per square inch, while a larger border gives you room to breathe and practice spacing. Second, fabric count sets the tempo for your stitching. Higher counts yield finer detail but demand steadier hands; lower counts invite bolder lines and faster progress. Third, color is optional but powerful. While traditional blackwork uses only one color, many contemporary practitioners introduce a complementary shade for emphasis, texture, or a modern twist—without erasing the classic look.
Reading a simple blackwork pattern at a glance
Patterns often arrive as a mix of lines, grids, and directional arrows. A clear plan helps you stay consistent:
- Identify the starting point and the dominant line.
- Confirm the stitch type for each segment before you begin.
- Work methodically in small sections to prevent drift. If you’re filling, decide whether you’ll fill row by row or section by section.
- Mark progress lightly as you go, so you can revert to an earlier stage if needed.
Popular beginner-friendly project ideas
To put these principles into practice, consider projects that balance simplicity and satisfaction:
- A small geometric border on a linen handkerchief or napkin.
- A framed sampler square featuring a single floral motif and a bordered edge.
- A monogrammed hand-towel with a clean, linear outline and minimal fill.
- A minimalist bookmark with a simple repeated motif along a short strip of fabric.
FAQ
These quick answers address common questions beginners often have as they start exploring blackwork embroidery.
What distinguishes blackwork from other embroidery styles?
Blackwork is defined by the contrast of dark thread on light fabric and by its emphasis on crisp outlines and linear fills. While many embroidery styles use multiple colors and shading, classic blackwork relies on single-color line work and structured fills, producing a bold, graphic look.
Can I use colored thread for blackwork without losing its character?
Yes. While traditional blackwork uses black thread, many contemporary practitioners explore deep navy, charcoal, or metallic threads to add drama or modernity. The key is to keep contrast high and maintain clean line work so the design remains legible and striking.
Is blackwork suitable for absolute beginners?
Absolutely. A small starter project with simple outlines and a modest fill area is within reach for most beginners. The skill set—accurate line stitching, consistent tension, and careful fabric handling—builds quickly with practice.
What are common mistakes to avoid?
Avoid uneven tension that puckers fabric or creates wavy lines. Don’t skip securing threads at the start and end of a thread. Make sure your pattern transfer stays visible and easy to follow, and keep your fabric taut but not stretched. Working in a comfortable posture and taking regular breaks helps maintain stitch quality over longer sessions.
What should I do with finished blackwork pieces?
Finished pieces are versatile. Frame them as wall art, incorporate them into clothing or accessories, or turn them into decorative household textiles. Because the style is high-contrast and crisp, blackwork can anchor a room with a quiet, refined presence or complement bolder patterns when used sparingly.
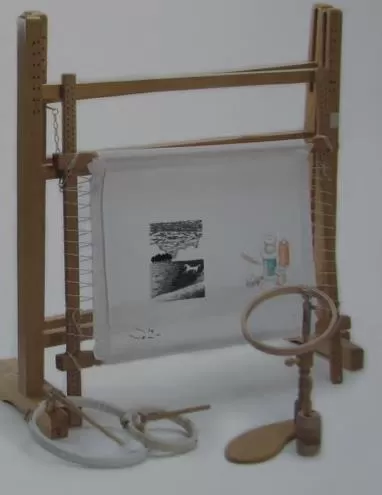
What do you need for blackwork?
What do you need for blackwork? Materials: Materials To work a piece of blackwork embroidery there are some fundamental tools and materials that you will…
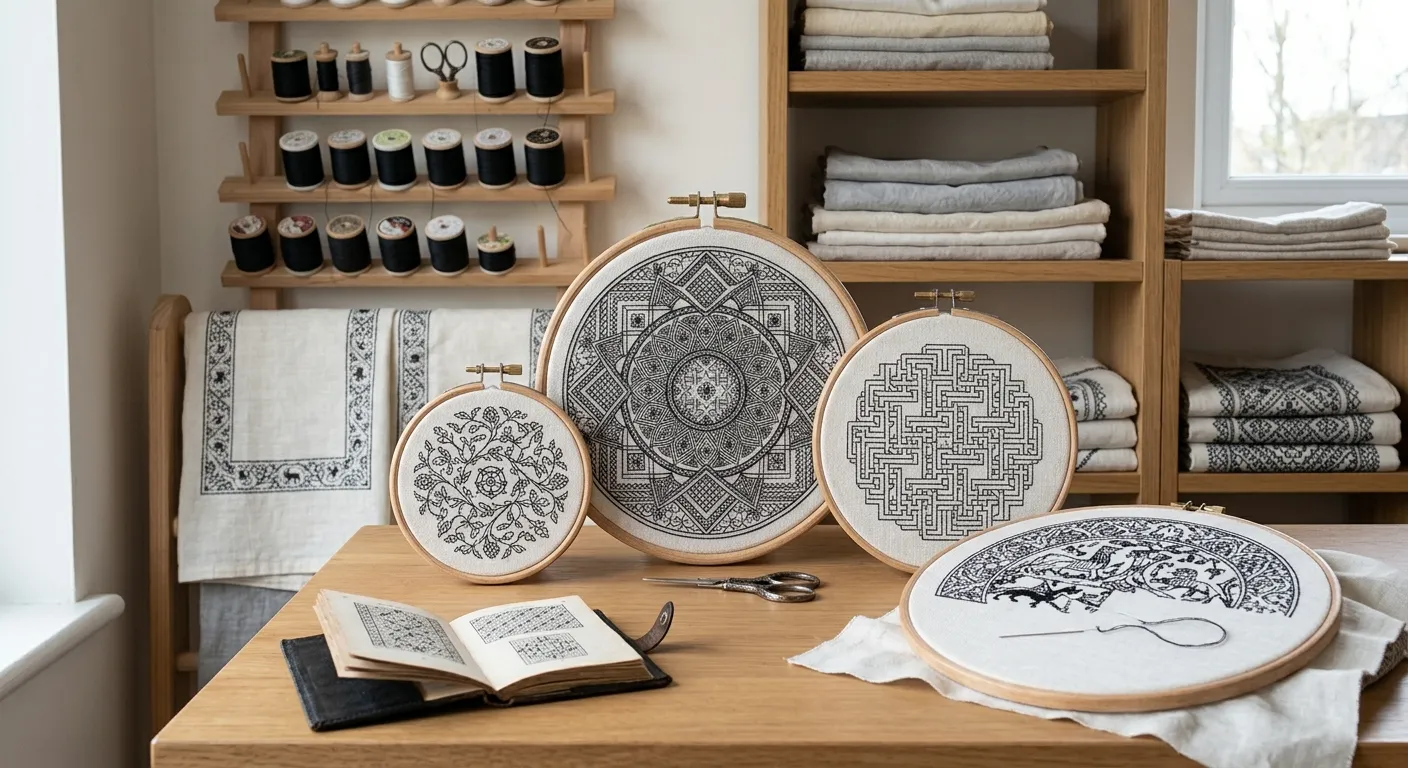
The Art of Blackwork Embroidery: History, Patterns, and Beginner Tips
The Art of Blackwork Embroidery: History, Patterns, and Beginner Tips Blackwork embroidery is a timeless form of needlework that uses black thread on light fabric…

Champagne Lady by Alphonse Mucha – blackwork pattern
Champagne Lady by Alphonse Mucha – blackwork pattern Alphonse Mucha’s art nouveau style is characterised by sensuous ladies with twisting, swirling hair. This Champagne I.ady Picture and…
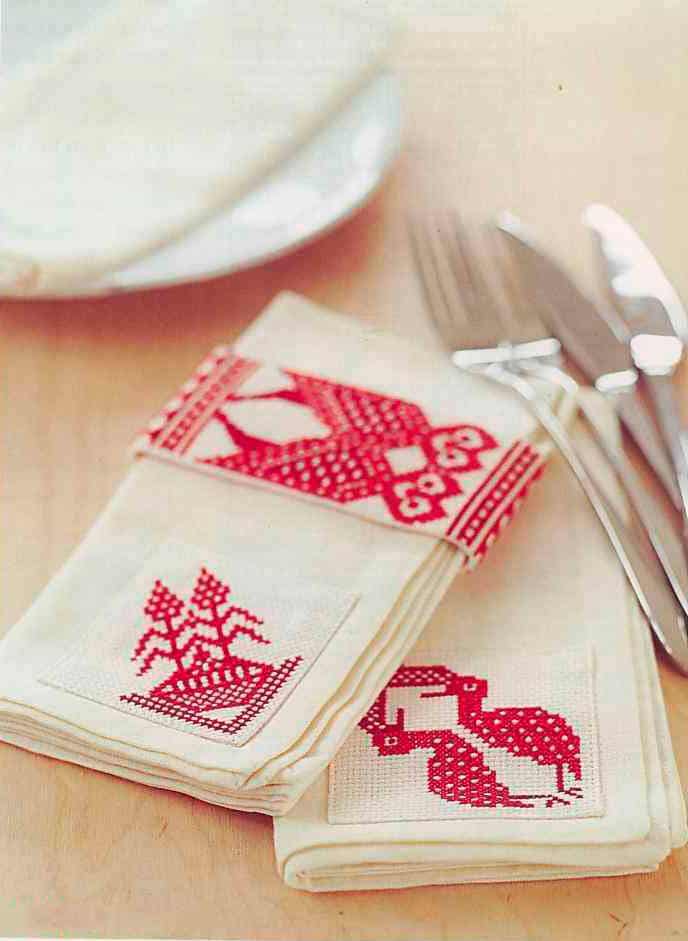
Napkin ring and napkins-free cross-stitch patterns
Napkin ring and napkins-free cross-stitch patterns These three motifs for napkin rings and napkins -free cross-stitch patterns are taken from a woven South American…